5 steps to adopt Notion for your entire organization
Your team is ready to start using Notion more broadly to unlock the value of a connected workspace — here’s what you need to do to get there.

- Step 1: Create your workspace architecture
- Step 2: Populate your workspace with content
- Importing content
- Using templates
- Step 3: Bring your team on board
- Onboarding best practices
- Provision members and secure your workspace
- Step 4: Build team-specific workflows with connections
- Connecting tools
- Step 5: Get the maximum value from your organization’s Notion workspace
- Maintaining content quality
- Continuously onboarding and scaling your team
Ready to get your team collaborating in a connected Notion workspace?
As you or your IT partners are starting to develop your Notion rollout plan, you might be wondering what you need to do to get everything up and running.
In this guide, we’ll explain the 5 steps of bringing Notion to your organization — from workspace set-up, to ongoing maintenance. Each section contains a brief overview of what to do, plus links to more detailed guides that provide you with step-by-step instructions.
This guide will help you:
Understand how to prepare your company to successfully adopt Notion
Import content into Notion for a consolidated work experience
Find all the team enablement resources you need in one place
Spending some time to establish the architecture of your workspace will help you organize your information in a logical way, so team members can find what they’re looking for and know where to go to contribute their work.
First you’ll need to create your Notion workspace. Once that’s done, nominate some of your team members to become Workspace owners, who will be responsible for getting to grips with Notion’s security and permissions settings, understanding the different types of users (and how to set them up), and billing. Usually, this will be someone from your company’s IT department who is working on security and permissions, plus your team leads or knowledge managers who will help to add content.
With IT setup underway, you can start structuring the workspace by dividing it into teamspaces. These are sections of the workspace that belong to departments of your company, which give each team a home for their work.
Most organizations begin with a “General” teamspace for everyone, then create teamspaces for each department. Your general teamspace will be home to company-wide knowledge like docs, and meeting notes, while team-specific teamspaces tend to house project trackers, and custom workflows.
Check out these examples of wikis that store team knowledge, and custom project trackers like this content calendar or product roadmap.

Resources for setting up your workspace architecture
A successful, organization-wide implementation includes thinking deeply about how you and other teams will work together. Consider what Notion use cases will be most beneficial to your team — project tracking, knowledge management, or documentation — and start creating those pages. If you’re not sure exactly what goes in Notion, read through our guide on where Notion fits into your company’s tool ecosystem.
As a Notion owner within your org, we generally recommend focusing on your company-wide and general use-cases, and assigning specific owners for team-based workflows. This step is probably the right time to start bringing those folks into the conversation.
There are two ways to get up and running with content quickly: import content from another tool, or use templates.
Importing content
You can import content from other tools directly into Notion, so you can pick up right where you left off.
First, connect and verify your accounts in the Settings menu, then open the Import menu in your sidebar, choose the tool you want to import from and follow the instructions.

How to import your content
Using templates
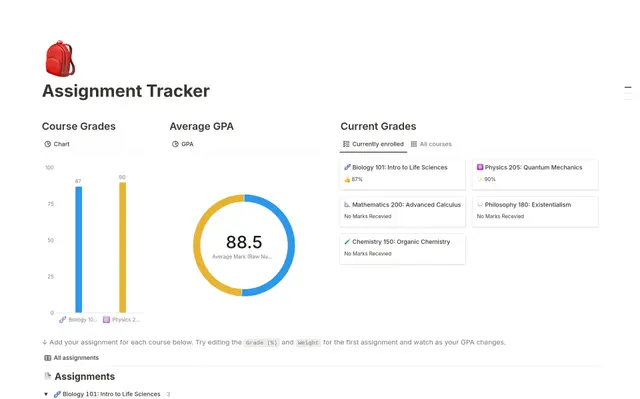
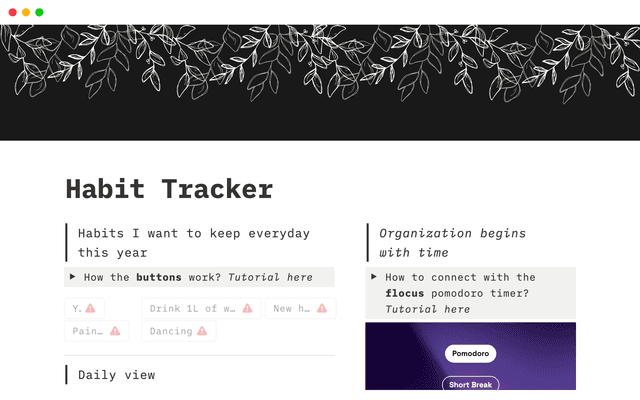
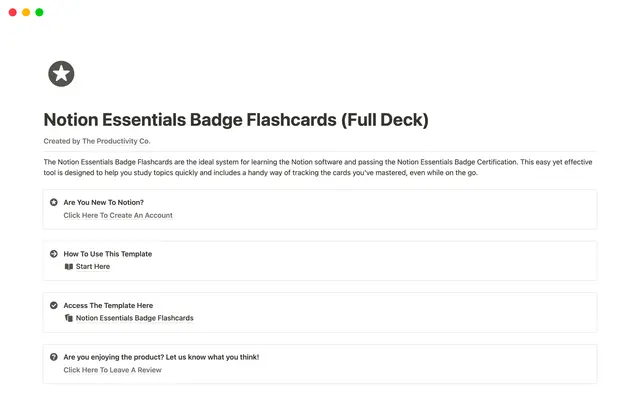
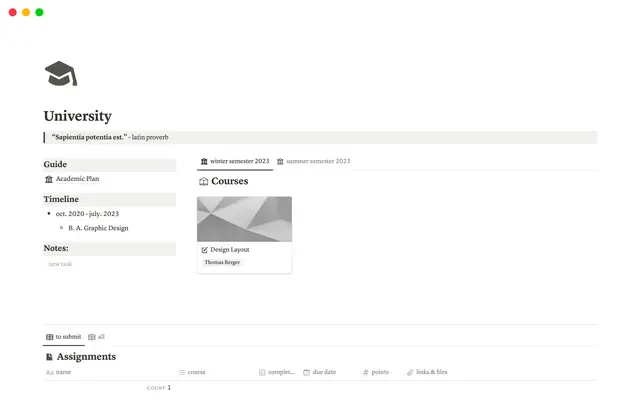
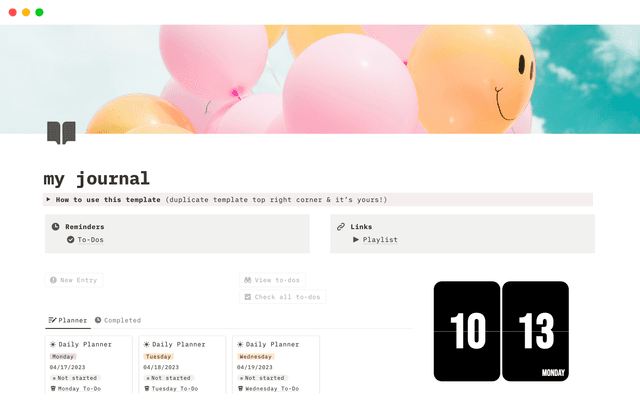
Additionally, explore our Template gallery for ready-to-use systems for any need — from generic docs and notes to bespoke solutions for your team.
Once you find what you want in the Template gallery, duplicate the page into the relevant teamspace, then customize them as needed to suit your team.

Start your teamspace with the following templates, and add more as needed

Resources to help get started with our templates
As you start to get your team members into Notion, you’ll want to make the process of adapting as smooth as possible.
Here are some things you can do to help your team learn and adjust to Notion:
Explain how Notion fits into your tool stack — Team members will need to understand how Notion connects to the rest of their tools. Your job is to show them the use cases, the value and why it’s different and better from what they do today.
Create an onboarding page — Send your team members to an onboarding page which contain all the resources they’ll need to get started, like videos and guides to cover the basics. To start, check out the resources below.
Encourage experimentation in private pages — Folks can use the private section of the workspace to experiment with creating pages, inserting Notion blocks and playing around with databases.
Introduce collaborative features — Invite others to pages and projects. Start tagging people and commenting. This will start to create the flywheel of collaboration. Share things inside of Notion, and outside of it, in your messaging tools.
Onboarding best practices
Make sure onboarding is successful by giving your team members all the information they need to use Notion confidently.
Get everyone to complete Notion Academy — Start with Notion 101, and go from there.
Measure progress with onboarding checklists — Give people an incentive to go through all the onboarding materials and measure their progress.
Make it interactive — Instead of a page of text, your onboarding page can include embedded videos, a gallery of resources and you can include your own tutorial videos showing how to use your workspace.

Resources for onboarding your team to Notion
Provision members and secure your workspace
Collaboration is the heart of Notion, and as team members join the workspace, you’ll need to ensure everyone has the right level of access to the content they need and can contribute to their team’s work. At the same time, you’ll want to limit the number of people who can make significant changes to the workspace, like adding new members and changing security settings.
There are four types of users in Notion - Workspace owners (who have full access to the workspace and security settings), Membership admins (Enterprise plan only), Members and Guests.
Workspace owners will be responsible for user management and provisioning access to content. Access can also be adjusted at page level. There are four levels of page access: Full access, Can edit, Can comment, and Can view.

Notion offers Single Sign-On (SSO) functionality for Business and Enterprise users, enhancing security and simplifying access management.
SAML SOO is available for workspaces on Notion’s Business or Enterprise Plans.

Security and membership resources
Remember those teamspace owners you assigned in step 2? This is their time to shine. Once your teams are in place, you’ll want to start the process of building team-specific workflows, and connecting specialist tools to get the most out of your workspace.
There are endless ways for teams to use Notion, but these are some of the most common use cases:
Manage projects and tasks seamlessly — With Notion’s integrated Projects & tasks system, teams can track daily work and larger projects effortlessly.
Connect docs and meeting notes — Use Notion databases to create and organize your documentation and take notes for every meeting. You can then connect information to the relevant project.
Grow your team’s knowledge base — Build a knowledge base where team members can find all the information they need about the company and their role.
Connecting tools
There’s a good chance that even if you have several use cases for Notion, there may be certain other tools that team members want to keep using — either because some teams need specialist tools for their work, or because they are planning to migrate to Notion at a later date.
The good thing is that you can continue to use any specialist tools, while at the same time connecting all of your work to Notion.
For example:
Add link previews that give everyone context — When you paste a link into Notion, you have the option to
Paste as preview, which gives a visualization of the content from the URL, which provides context.Create synced databases that contain up-to-date information — Pull an entire database worth of content from tools like Github and Jira into a Notion synced database that’s updated in real time.
Use connected properties in your databases — Link Google Drive files, Figma files and GitHub pull requests in your Notion database through special connected properties.
Integrate with Slack for easier team communication — If your team uses Slack to communicate, you can integrate Slack with Notion to send automatic notifications and paste Slack messages into your pages.
Once you’ve got your team using Notion, here are some best practices to make sure everyone gets the most out of the tool.
Maintaining content quality
Prevent the workspace getting messy and make sure content stays up to date and relevant.
Assign page owners and use verification — You can turn your company knowledge base into a wiki which gives it extra features, like page verification. Page owners can mark a page as verified to signal that the content is fresh.
Organize the sidebar — An untidy sidebar makes it difficult for team members to find what they need. Make sure the sidebar is organized and each team’s pages are contained in their teamspace.
Use the
Searchfeature — Team members can use theSearchfunction to find pages and information easily.
Continuously onboarding and scaling your team
Continuously onboard — When new teammates join your company, invite them to your Notion workspace and give them a tour using the resources above
Check out new features — Keep an eye on our “What’s new” page to incorporate new features and connections as they’re released, and share key features with your teammates to encourage deeper Notion use.
Fine-tune team and workspace settings — It’s best to start simple on permissions, but as you grow, use permission settings to prevent unwanted edits to content and make sure information is safeguarded. Check out our scaling your team course to learn more.

Resources for maintaining your workspace
How to use a wiki database to keep information up to date here.
Setting up the sidebar for organization here.
Learn about permission groups.
Something we didn’t cover?
