Style & customize your page
Uh-oh! It looks like your ad blocker is preventing the video from playing.
Please watch it on YouTube
You can make Notion look and feel any way you want — like your brand, your team, your style. We've built in features so you can customize any page or workspace. No matter what, Notion makes your design look great 🎨
Jump to FAQsNotion is equipped with all the text styling features you've come to expect from any word processor — with a few more added in. Highlight any text to see this menu:
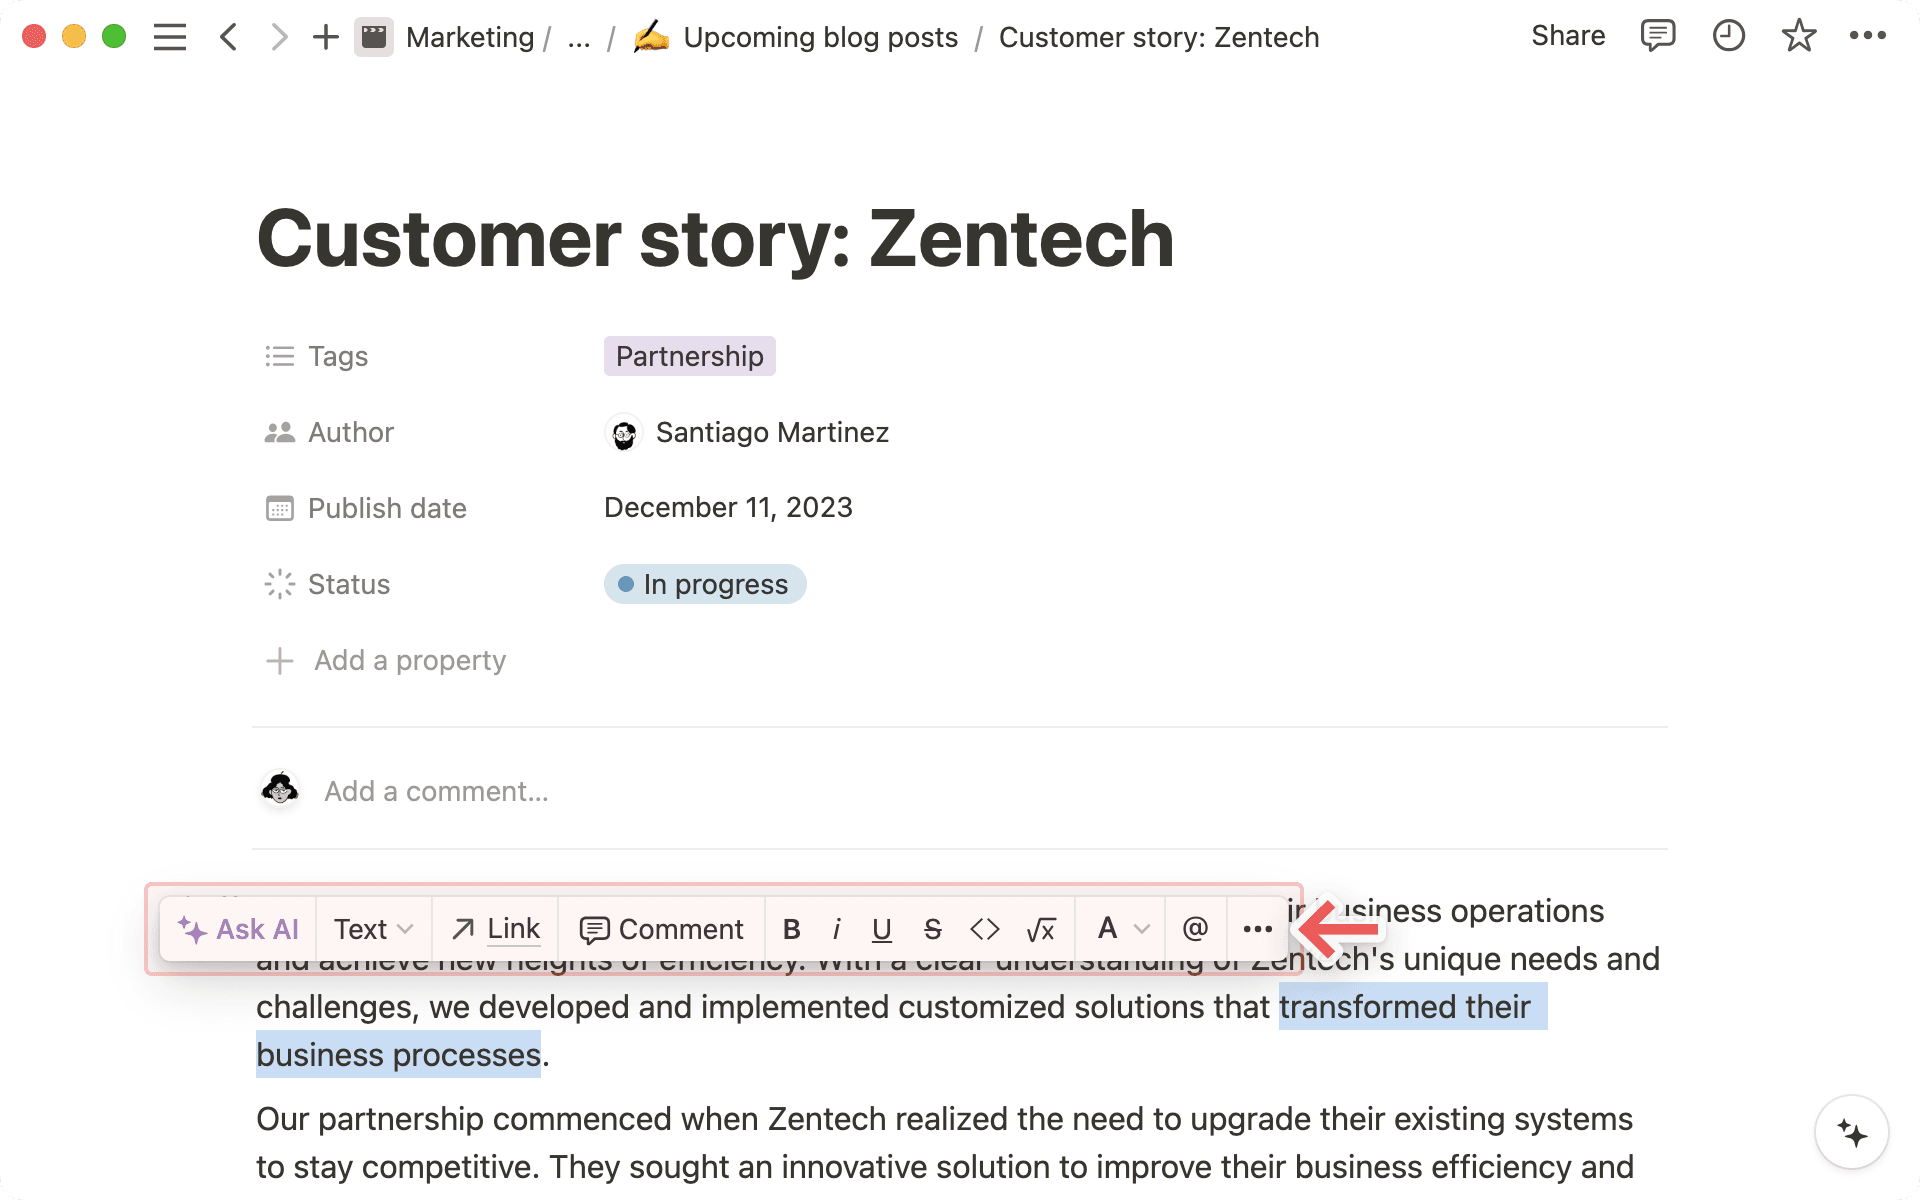
Of course, all the usual shortcuts apply, like cmd/ctrl + B for bold and cmd/ctrl + shift + S for strikethrough. But we've thrown in a couple others:
cmd/ctrl+Eto display code inline.cmd/ctrl+shift+Mto add a comment to any text.Oh, and you can always use
@to mention a page or a person in your workspace.
Notion supports all Markdown styling on desktop, web and mobile. Here's a quick rundown of shortcuts:
While typing:
Type
**on either side of your text to bold.Type
*on either side of your text to italicize.Type
`on either side of your text to createinline code. (That's the symbol to the left of your 1 key.)Type
~on either side of your text to strikethrough.
At the beginning of any line of text:
Type
*,-, or+followed byspaceto create a bulleted list.Type
[]to create a to-do checkbox. (There's nospacein between.)Type
1.followed byspaceto create a numbered list.Type
#followed byspaceto create an H1 header.Type
##followed byspaceto create an H2 sub-header.Type
###followed byspaceto create an H3 sub-header.Type
>followed byspaceto create a toggle list.Type
"followed byspaceto create a quote block.
Note: Find a full list of keyboard shortcuts for Notion here →
Choose from three different typography styles for every page you produce — selected to match most writing moods! Just click
•••at the upper right of your page and pickDefault,Serif, orMono. All the text on your page will change accordingly.
This same menu includes the
Small texttoggle. When you turn it on, the text on your page shrinks. Helpful if you want to fit more on a page or if you like the way it looks.
Spice up your text by turning it a color or giving it a color highlight. There are many colors to choose from and several ways to apply them:
Give in-line text a color or highlight from the same menu you'd use to bold, italicize or comment — just highlight any text and choose a color from the
Adropdown:
You can also turn an entire block of text the same color. The easiest way to do this is to type that handy
/followed by the name of the color you want to write in, like /red.
You can also change the color of a text block by typing
cmd/ctrl+/at any point and then the name of the color you want followed byenter.

Tip: Using the same color over and over? Apply the last color you used with the shortcut cmd/ctrl + shift + H.
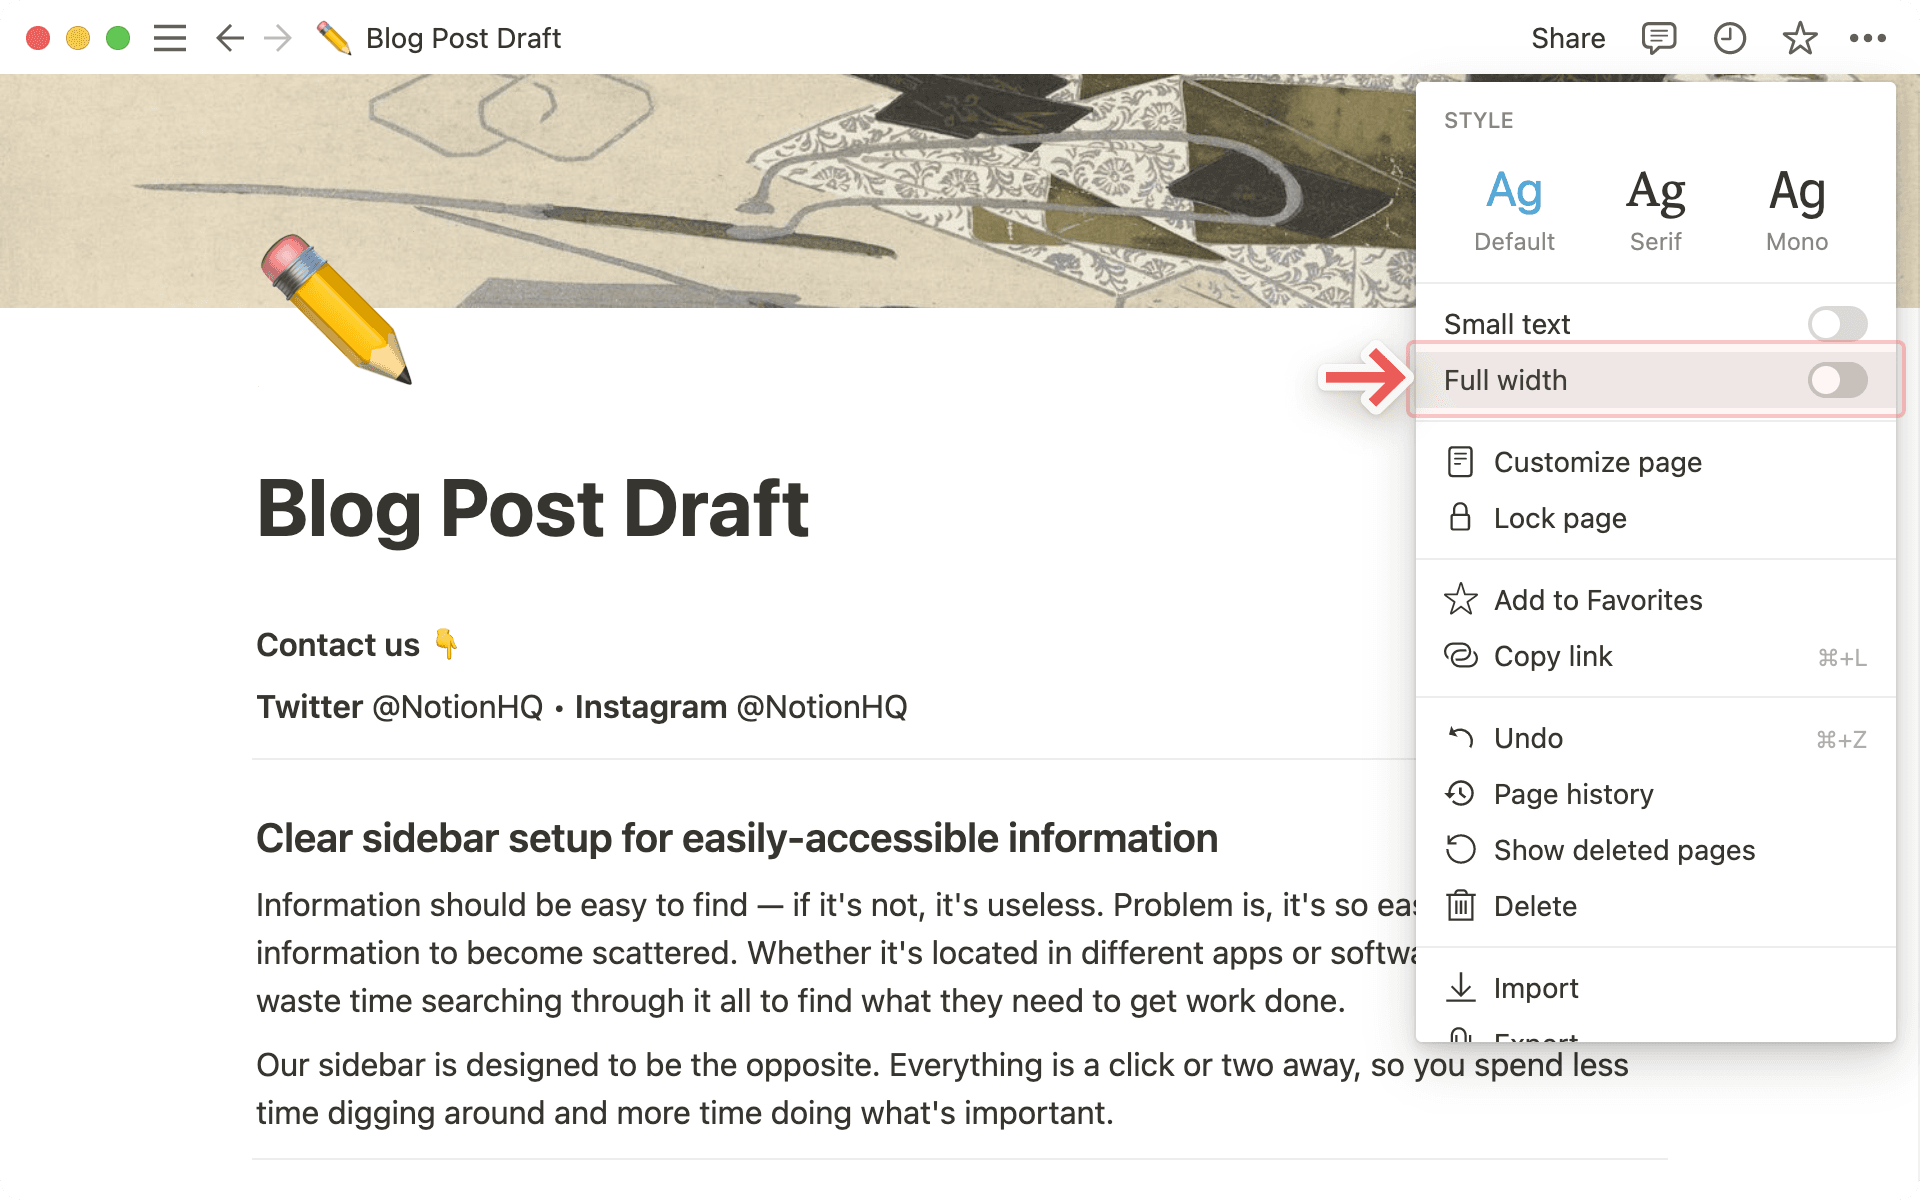
You can shrink the margins on any page and widen your content area by going to ••• at the top right of your Notion window and toggling on Full width.
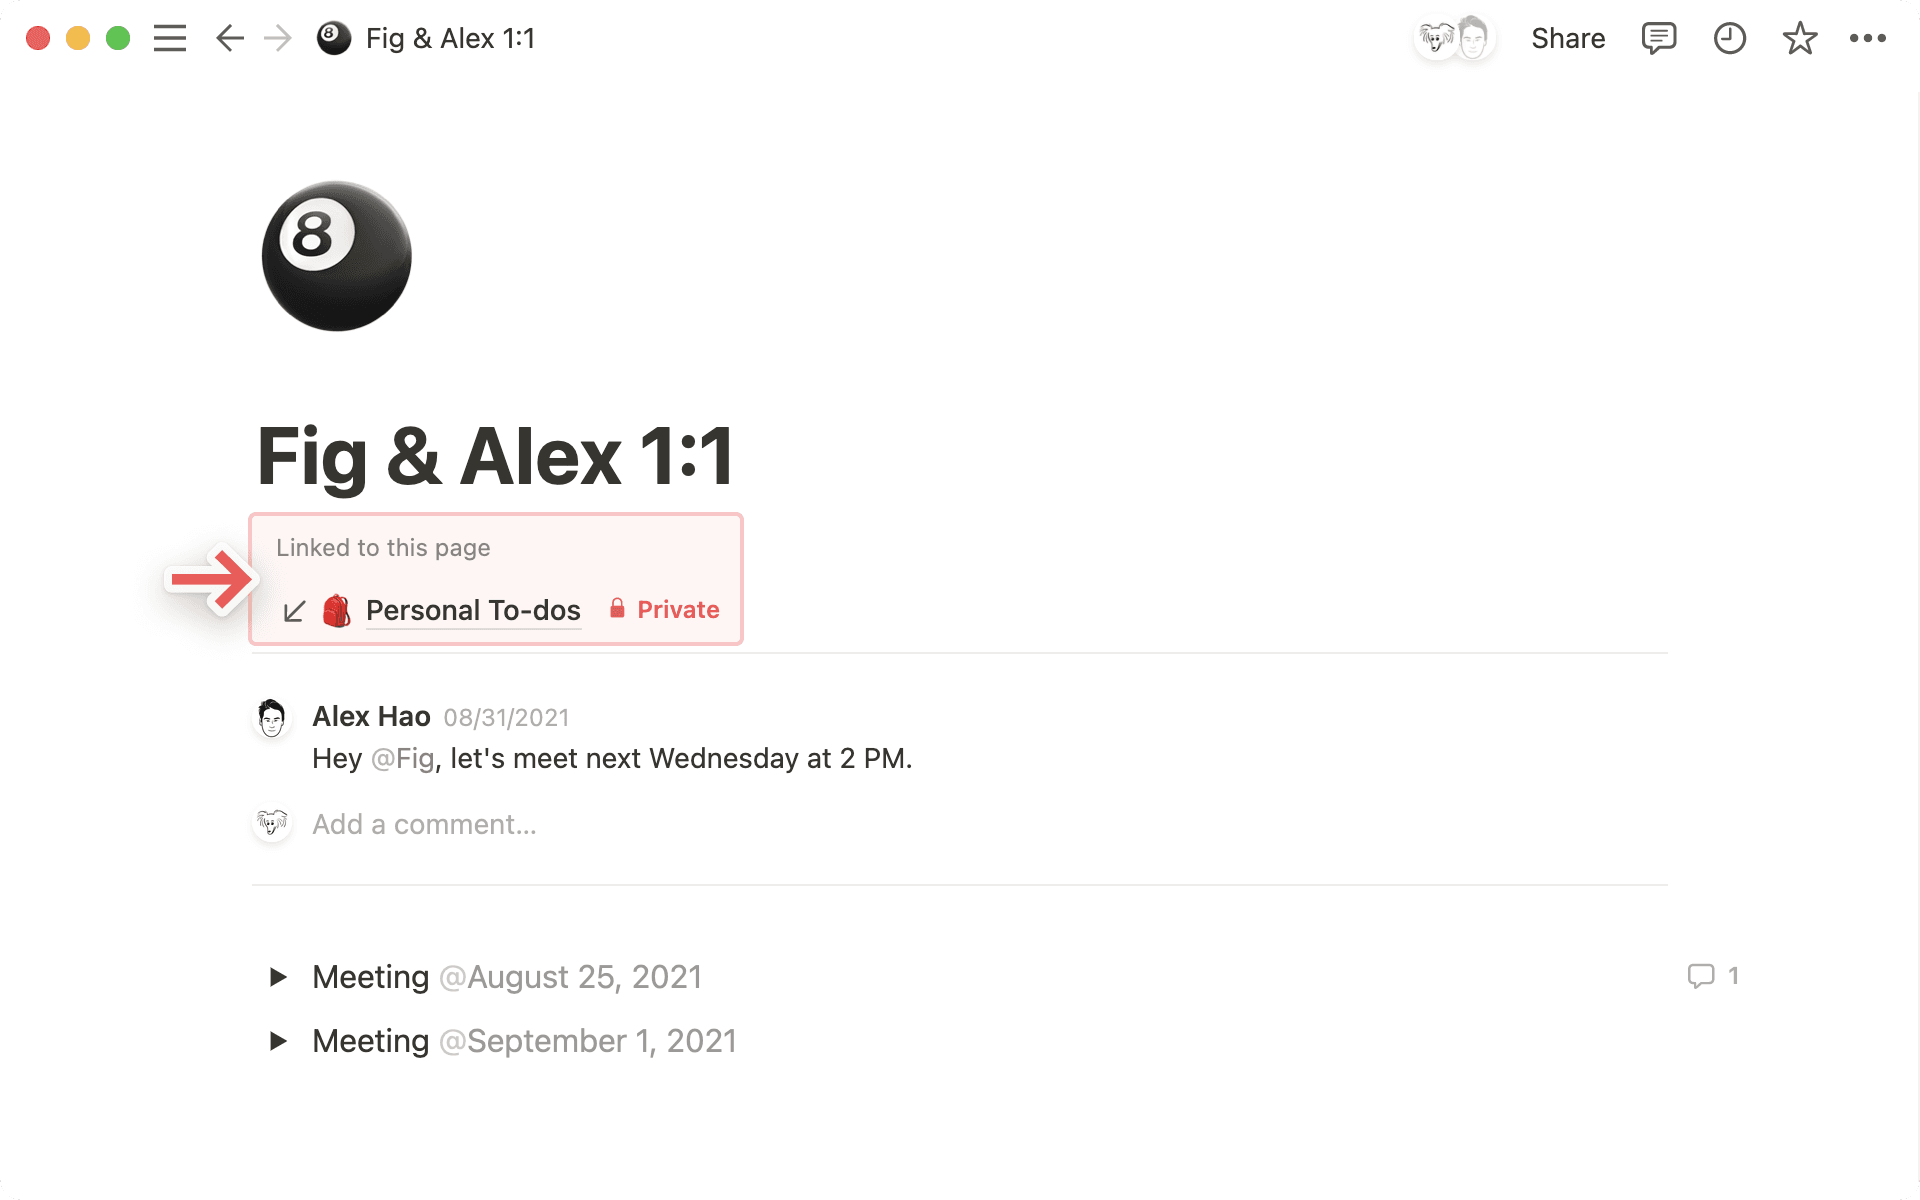
The top of any page in Notion can include two things: backlinks and comments.
Backlinks indicate all the pages that link to the current page so you can easily navigate between them.
Comments capture conversation between you and your teammates. You can use them to tag each other, ask questions, provide feedback and more.
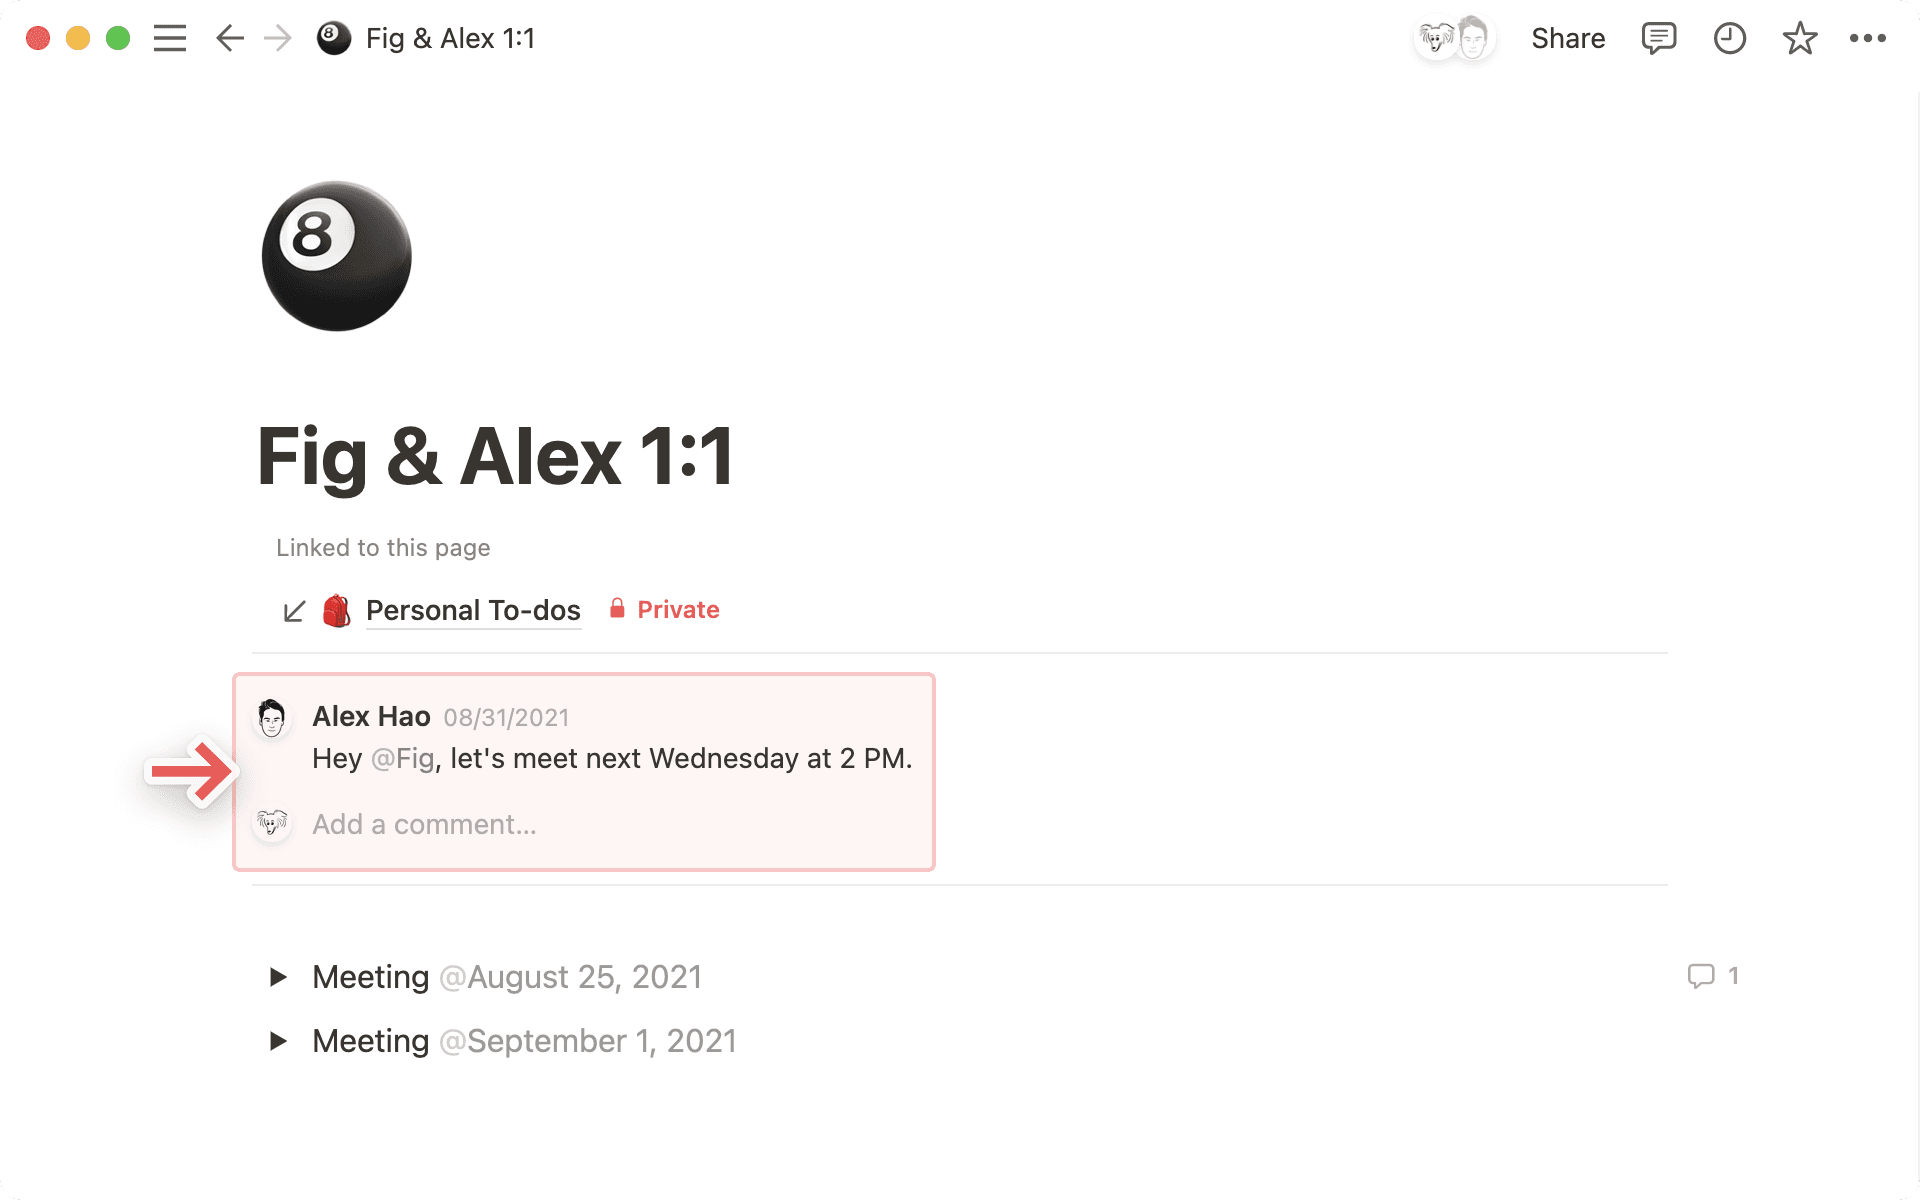
To customize backlinks and comments for a non-database page:
Click the
•••button at the top right of the page and selectCustomize page.In the window that opens, toggle on or off
Show backlinks.Toggle on or off
Page discussions.
To customize backlinks and comments for a database page:
Click
•••at the top right of the page and selectCustomize layout.Click on the
Headingmodule and toggle on or offShow backlinks.Click on the settings button next to your database’s name at the top of the page. Decide if you’d like inline comments on your page to be displayed as they are by
Default(with the comment visible alongside the commenter’s profile photo), or displayed in aMinimalway (with only the number of comments showing, which you can click to expand).You can also decide if you’d like your page discussions, or comments that are added at the page level, to be
Expanded(with all comments showing) orOff(not showing).When you're done adjusting these settings, select
Apply to all pagesat the top of the page. Note that your backlink and comment customizations will apply to every page in the database you're in.
You can create a custom layout that applies to all pages in a database. Learn more in this article →
Callout blocks are useful for highlighting specific text or breaking it out from the rest of a document. Perhaps you want to draw attention to a warning or a tip.
Add a callout
You can add a callout to a page in a few ways:
Hover over a new block and select
+to the left of the block →Callout.Type
/calloutin your page and pressenter.
You can move your callout block around your page by hovering over it and using the ⋮⋮ that appears as a handle to drag and drop it. Callouts can even be placed in a column.
Style your callout
Your callout block can contain other block types like bullets and headings. You can drag these blocks around to rearrange them within your callout.
Note that if you use headings in your callout, those headings will appear in your page's table of contents.
Every callout block comes with an icon. To change the icon, click on it and choose a new one. To remove the icon, click on it and select
Remove.You can also upload your own icon image (ideal size is 280 x 280 pixels), or paste a link to the image you want.
Click
🔀to generate random icon options until you find one you like!
Change the color of the callout block itself (or the text inside the block) by clicking the
⋮⋮icon that appears to the left on hover.Select
Colorand choose from the background color menu to change the entire block's color. ChoosingDefaultturns the block white with a light gray outline.
Selecting a non-black color for the text turns the block white with a light gray outline.
You can also change text and background colors with the shortcut
cmd/ctrl+/and typing the name of the color you want.
Every page can have its own icon — either an emoji or an image you upload yourself (like your logo). It'll appear at the top left of your page and in the sidebar next to it. This helps make pages memorable and easy to find.
To add or change a page icon:
Hover over the top of any page and click
Add iconor click your existing icon.Select
🔀to cycle through randomly chosen emojis until you find one you like. Alternatively, select an emoji from theEmojitab, an icon from theIcontab, or your own image or image URL using theUploadtab. Uploaded icons should ideally be 280 x 280 pixels.When you upload a file to turn into a page icon, you’ll also have the option to turn it into a custom emoji in your workspace’s emoji library. Just check the box next to
Add to workspace Emoji librarywhile you’re uploading your file. You can then use your custom emoji as a page icon, a reaction, or inline in a page.
To remove a page's icon, just click on it and choose Remove.
You can also use emojis inline throughout your page! Type : followed by the name of the emoji you want to use, like :fire for 🔥 or :clapping for 👏. You can also upload and use a custom emoji. To do this:
Open the emoji menu by typing
/emojiinto your page.Select
+at the bottom.Upload an image, give it a name, and select
Save. Anyone in your workspace will be able to use your custom emoji as a page icon, a reaction, or inline in a page.

Note: Custom emojis won’t render in mobile widgets.
Cover art appears as a banner image at the top of any page, bringing some elegance, color, and style (even to databases).
Hover over the top of any page and click
Add cover.Hover over the cover that appears and choose
Change cover.A menu will pop up with a gallery of choices curated by Notion.
Click
Uploadto add your own image from your computer, or clickLinkto paste in the URL of an image from the web.You can also search for and choose an image from Unsplash, a library of 1,000,000+ beautiful, usable stock photos.
FAQs
Can I make Full width my default? Is there a way to set a default style for all pages?
Can I make Full width my default? Is there a way to set a default style for all pages?
Not yet, but a lot of users have asked for this! We're continuing to keep this in mind for future projects.
Can I justify text to be center aligned or right aligned?
Can I justify text to be center aligned or right aligned?
Notion doesn't have any traditional alignment options at the moment, unfortunately 😕But you can still make this happen. Drag and drop an empty line into the column next to your text to align it to the right or left.
Why can't I change text size on mobile?
Why can't I change text size on mobile?
This styling option, along with page width, only exists on desktop and web.
What's the ideal size and aspect ratio for cover images?
What's the ideal size and aspect ratio for cover images?
The cover images are dynamic depending on the width of your window, so there's no specific size that works best. That said, we recommend using images at least 1,500 pixels wide.
How can I insert an emoji in-line with my text 🤔?
How can I insert an emoji in-line with my text 🤔?
Anywhere in your text, type : followed by the name of the emoji you want to use, like :fire for 🔥 or :clappingfor 👏
You can also use your system emoji picker to include emojis in-line on a Notion page, or anywhere else on your computer!
Mac: ctrl + cmd + space
Windows 10: windows key + . or windows key + ;
