How to set up your Notion workspace for your team
Create a framework that sets your team up for success.
- 1. Organize your sidebar to make information accessible
- 2. Bring your team into the fold
- 3. Encourage collaboration and ownership
- 4. Build out databases for your team's work
- Use database templates to scale
- Pick the properties you want your team using
- Create database views for specific work
Getting your team’s Notion workspace organized starts by creating centralized systems for accessing information, managing projects, and enabling cross-functional collaboration.
Once you’ve set the foundation, your team can go about customizing these workflows depending on their needs. From engineering product roadmaps to your marketing team’s wiki, the baseline systems you establish when onboarding your team to Notion support the growth of your team — and their work.
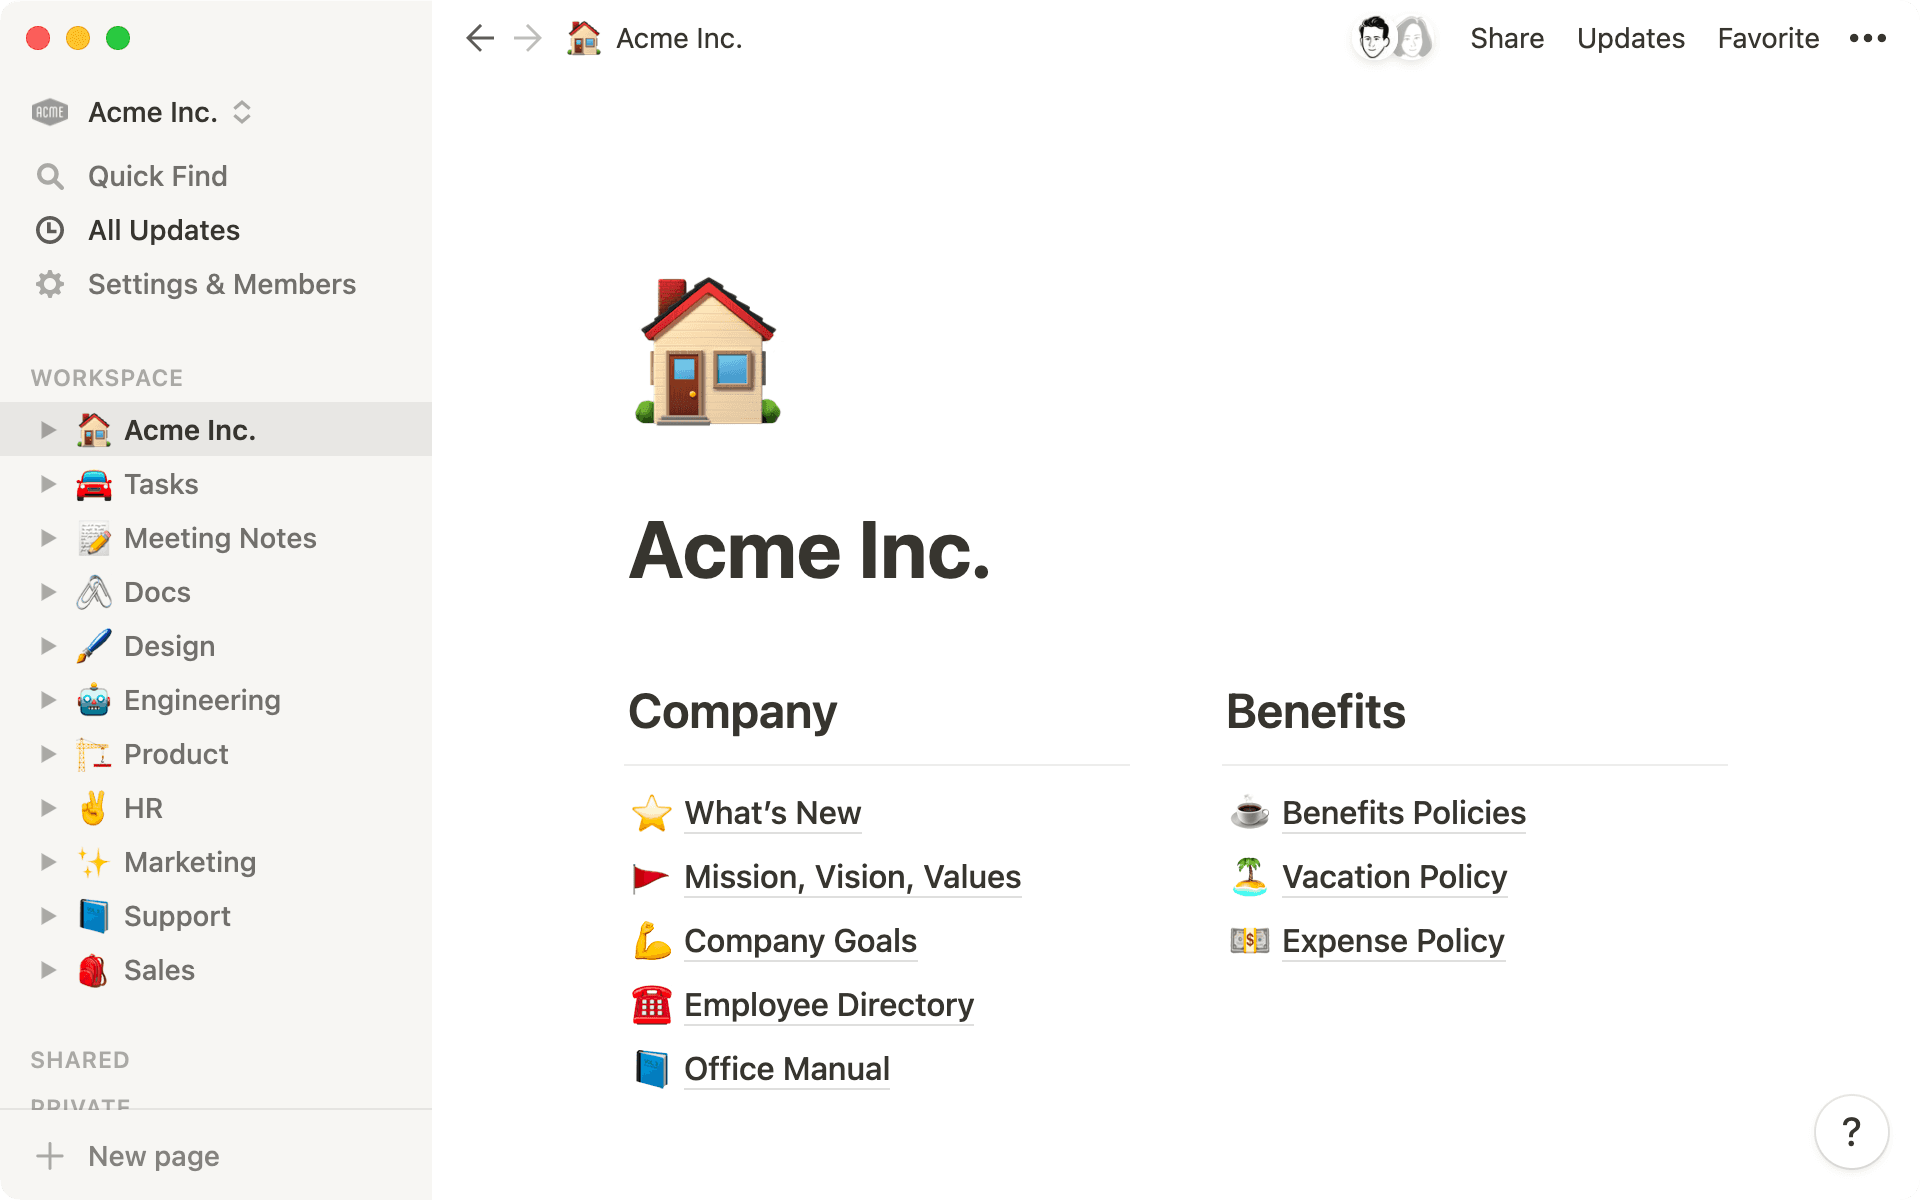
To get your Notion workspace up and running, start at the sidebar. This is where your company’s projects and information live, so keeping it clean, clear, and organized makes finding and using information easier. If info is inaccessible, it might as well not exist.
You'll first want to set your teamspaces and information architecture, which occupy the Teamspaces section in your sidebar.
Think of these as homepages at your company, acting as the broadest level of categorization possible.
Create teamspaces for your main departments, like one for marketing and another for engineering.
Use the default “General” teamspace for pages you want everyone to be able to access — like meeting notes, docs, mission, and values.
Then, start adding pages to your teamspaces. The fastest way to get these top-level pages started is using Notion’s templates. Duplicate and add any of our templates
into your team’s workspace.
To manually add new top-level pages from scratch to your teamspaces, click + to the immediate right. A blank page will appear giving you the option to either create a database, empty page, import information, or work off an existing template.
But maybe you don't want teammates changing top-level pages in teamspaces. In the Teamspace settings section in your sidebar, find Security. Once there, you'll be able to toggle off the ability for teammates to edit the sidebar. However, this feature is only available on Enterprise plans and you must be an admin to activate it.
After your sidebar has been locked, this helps reinforce the keeping of relevant nested pages within your top-level pages. For example, your top-level company home page might have nested pages for benefits info or how to request PTO. Having these as sub-pages keeps the information organized and easily accessible.
Don't forget — teams can also customize their pages. From headers and columns, to Figma files and code snippets, each team wiki can be tailored to the work at hand. Learn writing and editing basics, then tackle styles and customization.

Read more about teamspaces
To manually add new top-level pages from scratch to your WORKSPACE section, click + to the immediate right. A blank page will appear giving you the option to either create a database, empty page, import information, or work off an existing template.
But maybe you don't want teammates changing top-level pages. In the Settings & Members section in your sidebar, find Security & identity. Once there, you'll be able to toggle off the ability for teammates to edit the sidebar. However, this feature is only available on Enterprise plans and you must be an admin to activate it.
After your sidebar has been locked, this helps reinforce the keeping of relevant nested pages within your top-level pages. For example, your top-level company home page might have nested pages for benefits info or how to request PTO. Having these as sub-pages keeps the information organized and easily accessible.
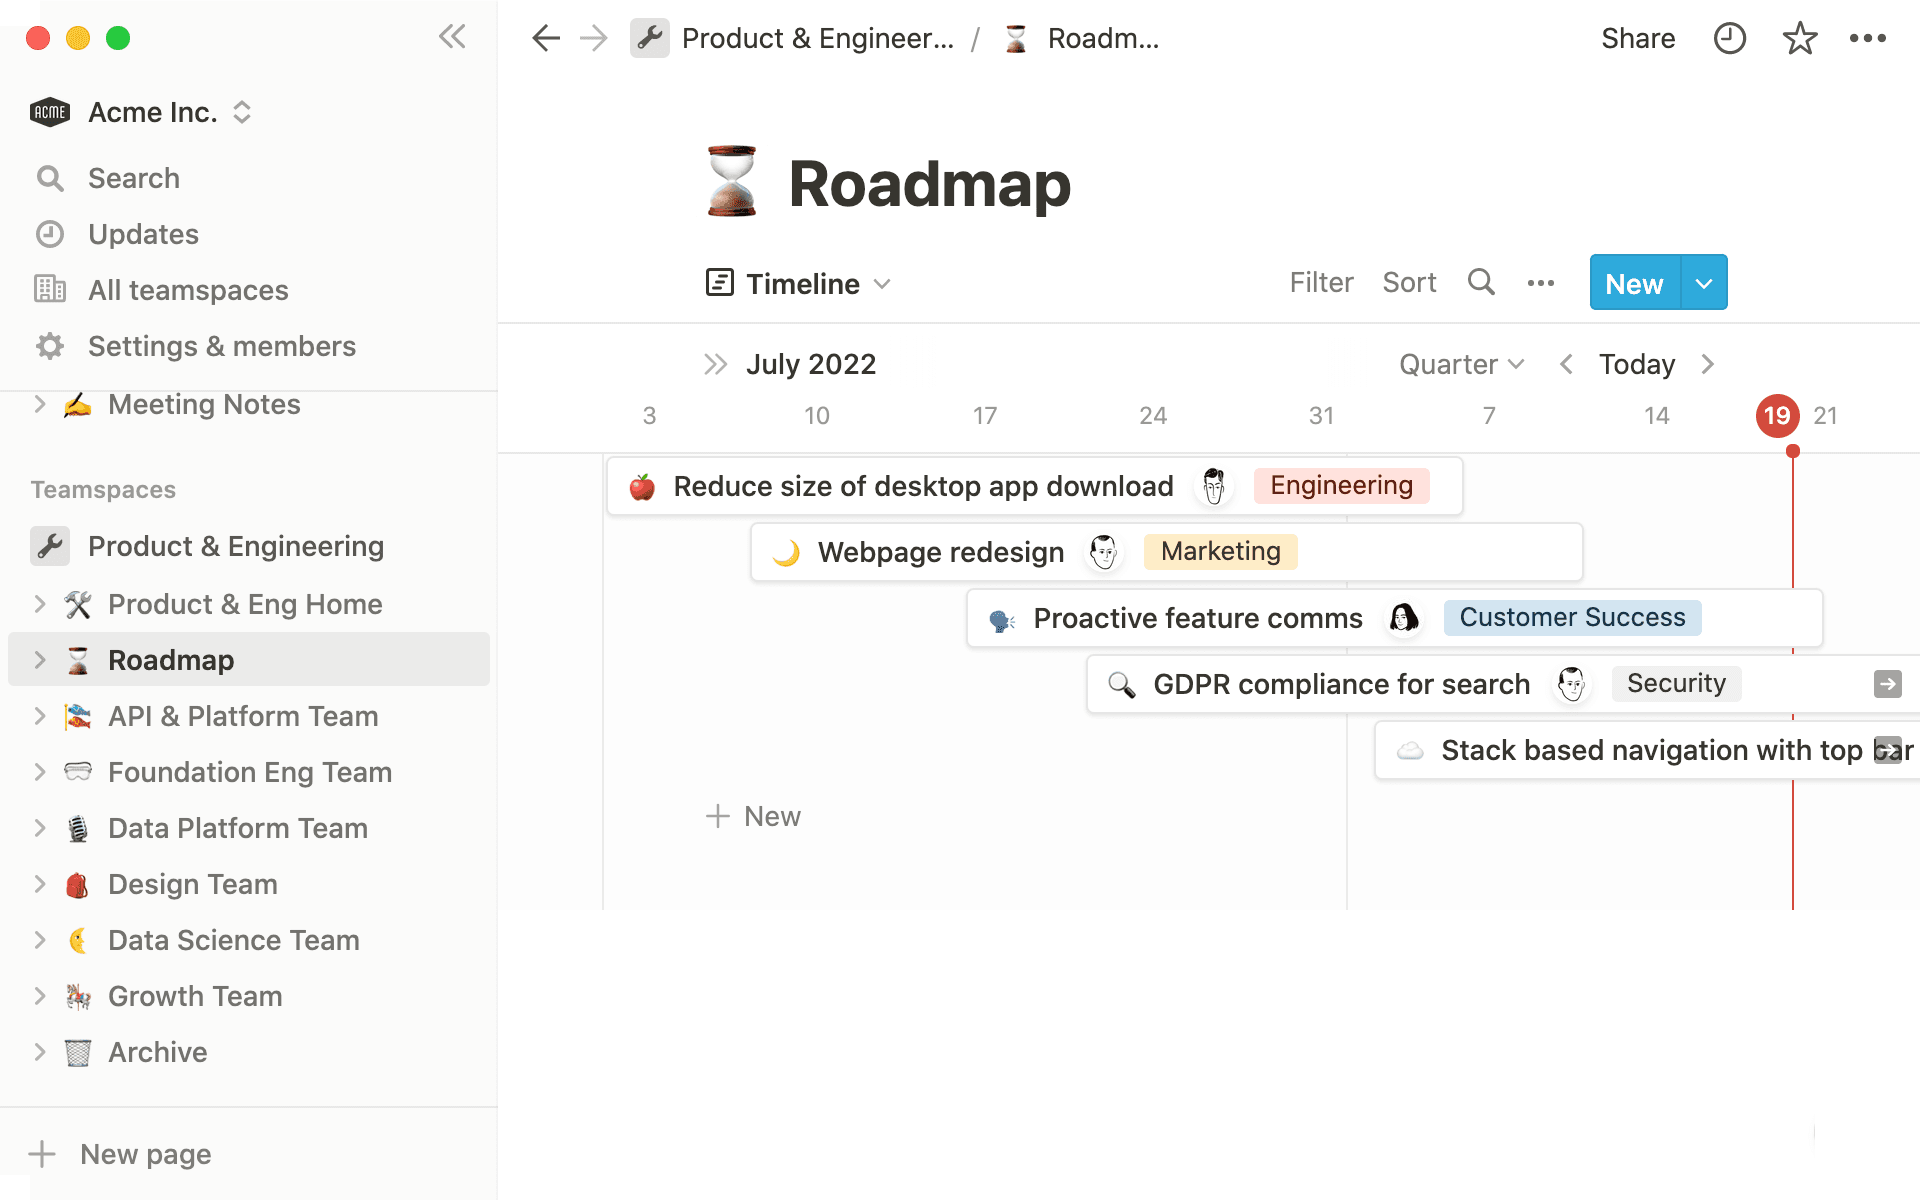
Don't forget — teams can also customize their pages. From headers and columns, to Figma files and code snippets, each team wiki can be tailored to the work at hand. Learn writing and editing basics, then tackle styles and customization.

Other elements of your sidebar
Once your initial top-pages are up, invite your team to the workspace. In the sidebar, click Settings & Members. Under Workspace, select Members. Tap the Add members button. Enter their email address.
Before inviting teammates, you’ll have the option to set each person you invite into your workspace as:
Member — can't change workspace settings or invite new members into the workspace.
Membership admin — can invite new members to the workspace and edit groups but can’t change workspace settings.
Workspace owner — can change workspace settings and invite new members to the workspace.
Then click Invite.
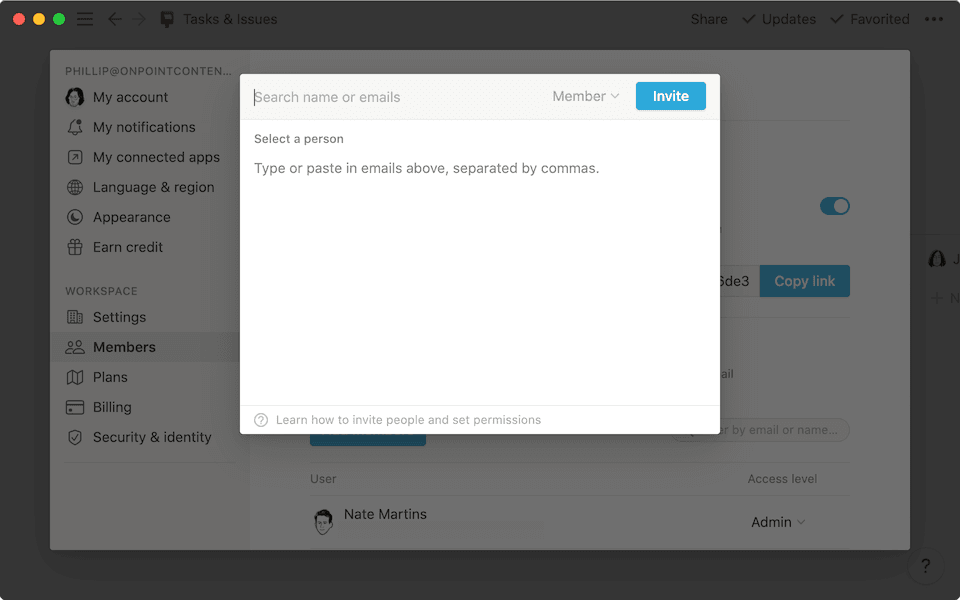
If you want to add teammates even faster, in the Settings & Members section of your sidebar, you can:
Allow everyone with your company's email domain to automatically join your workspace. Do this under
Allowed email domains.Invite teammates en masse via a secret link, where they can automatically join when clicking on that link you send via an email or Slack message.
As your team grows, you might need to update permission settings for the folks in your workspace. You can learn more about sharing & permissions, guest access, and creating permission groups to quickly and easily share pages with teams at your company.
Now that you’ve set up your Notion workspace for success and invited all your teammates, you can inspire collaboration.
There are several ways to work with your team using Notion depending on the situation. Namely, you can use the @ mention in several places within your Notion workspace to tag teammates and set reminders.
Establish a page's owner for any updates (here's our Guide to keeping your Notion pages up-to-date).
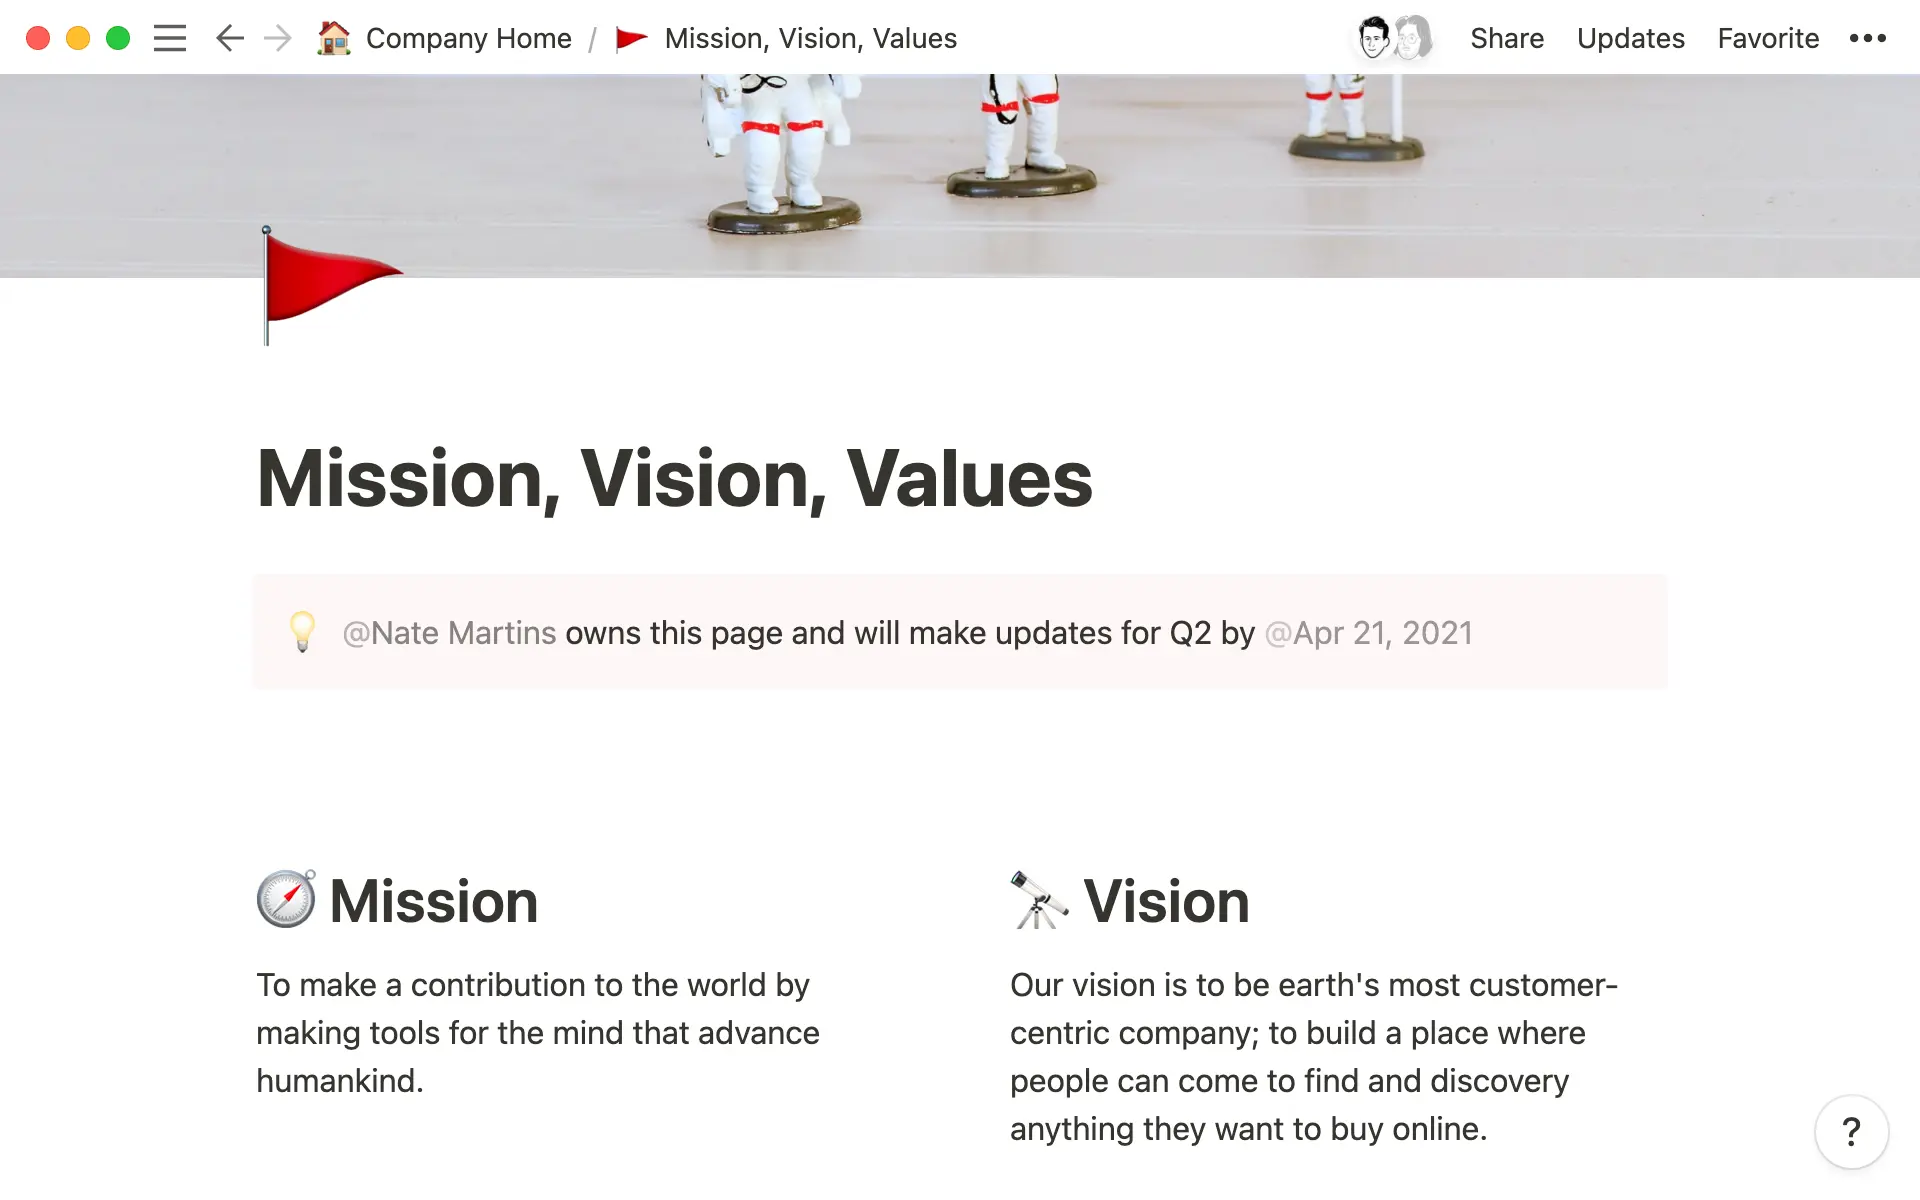
Help get teammates acquainted with the pages they’ll be using most. You can tag them at the top of a page (as a page comment) with high level remarks or to start a discussion.
Tag teammates in-line to get feedback or ask questions by hitting
Commenton images, videos, text, etc.
Set reminders to ensure teammates chime in or follow up where needed.
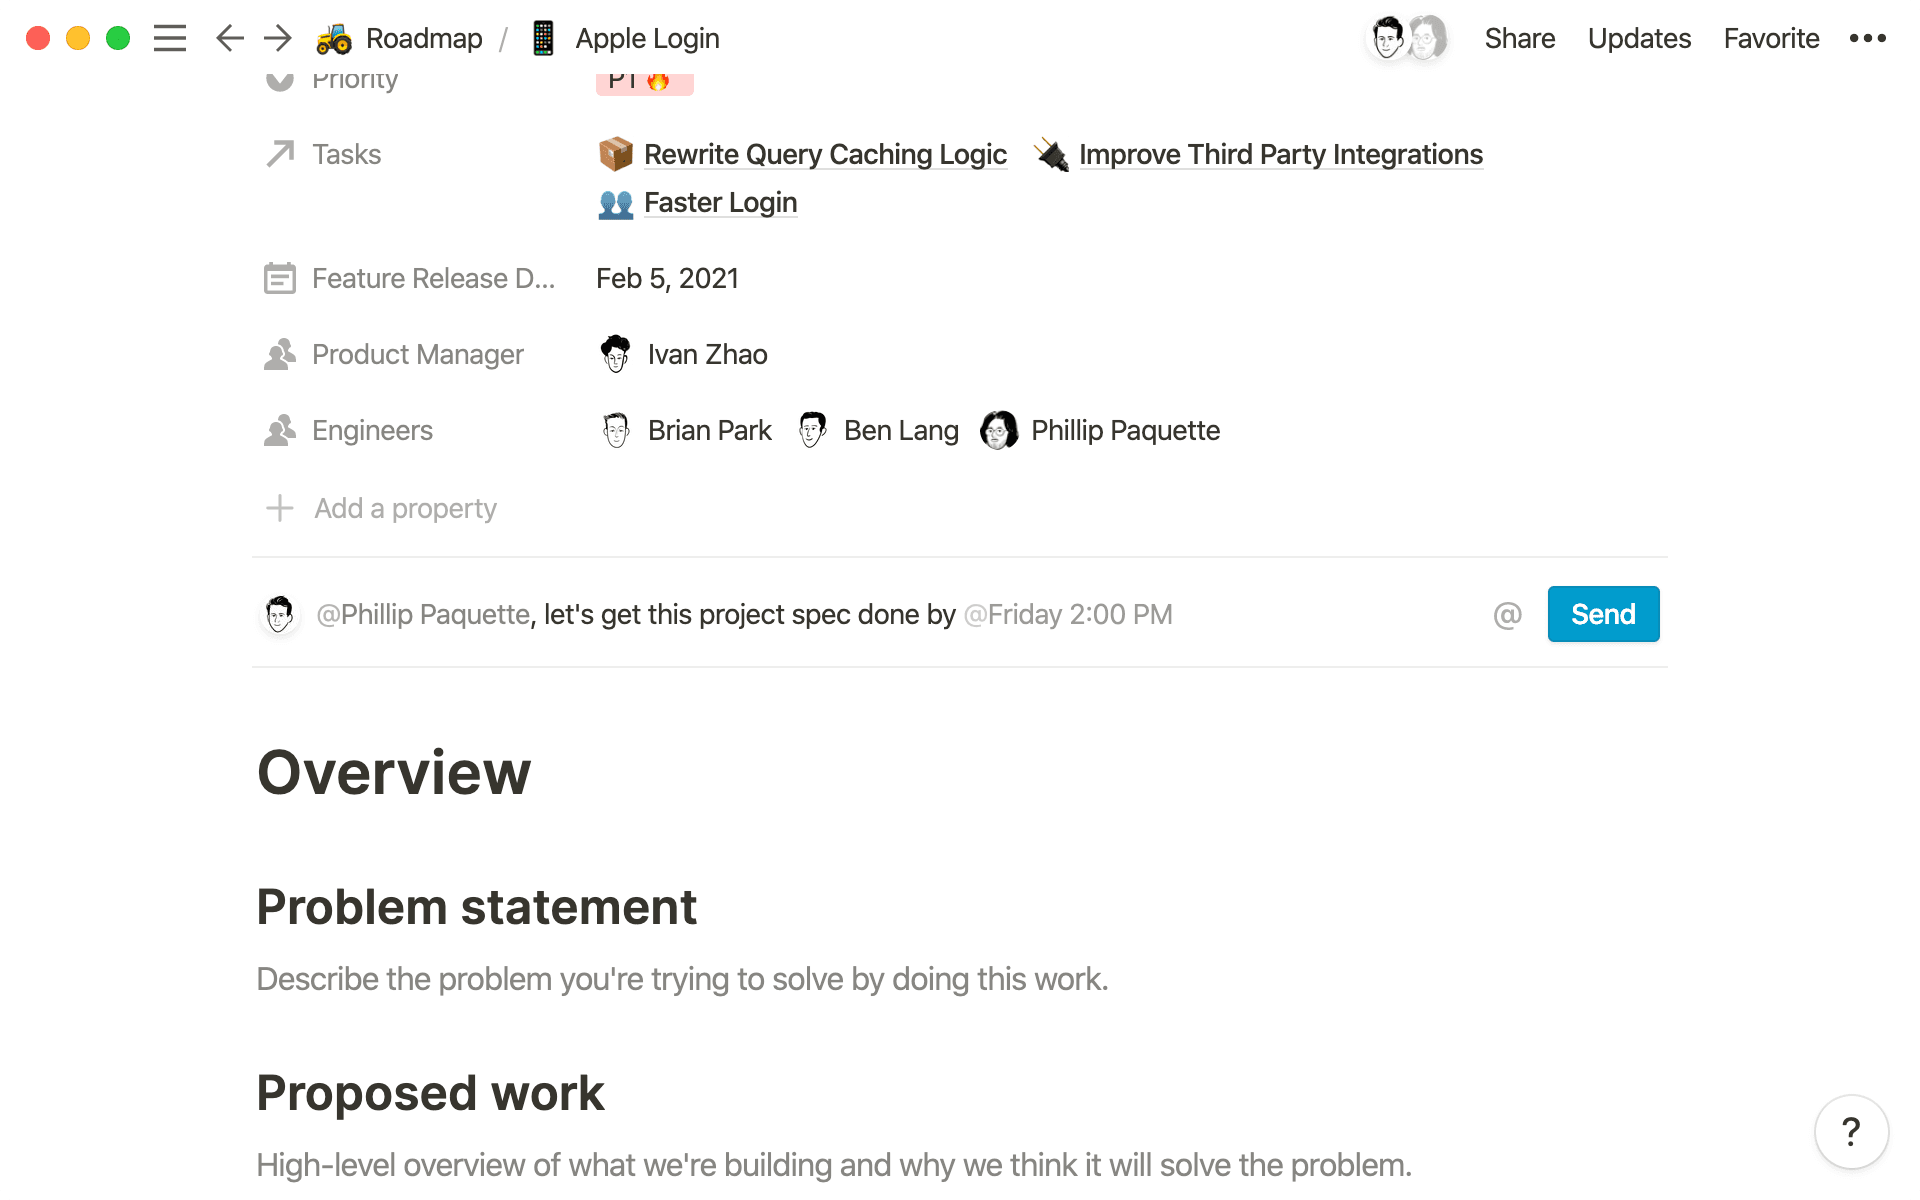
Here's our Guide about using comments for better cross-functional collaboration.
Whether it’s the engineering team’s tasks or the company-wide roadmap, Notion databases are essential for running projects and executing them with speed and precision. We suggest creating shared databases (as top-level pages) for:
For any shared documentation, whenever possible, use one big database. Why?
Because properties, filters, views, and more allow your team to slice information however they need. Having one big database fosters important company-wide transparency and learning, while individuals can customize what information they see and how they see it.
Here are a few more tips for getting the most out of your team's databases.
Use database templates to scale
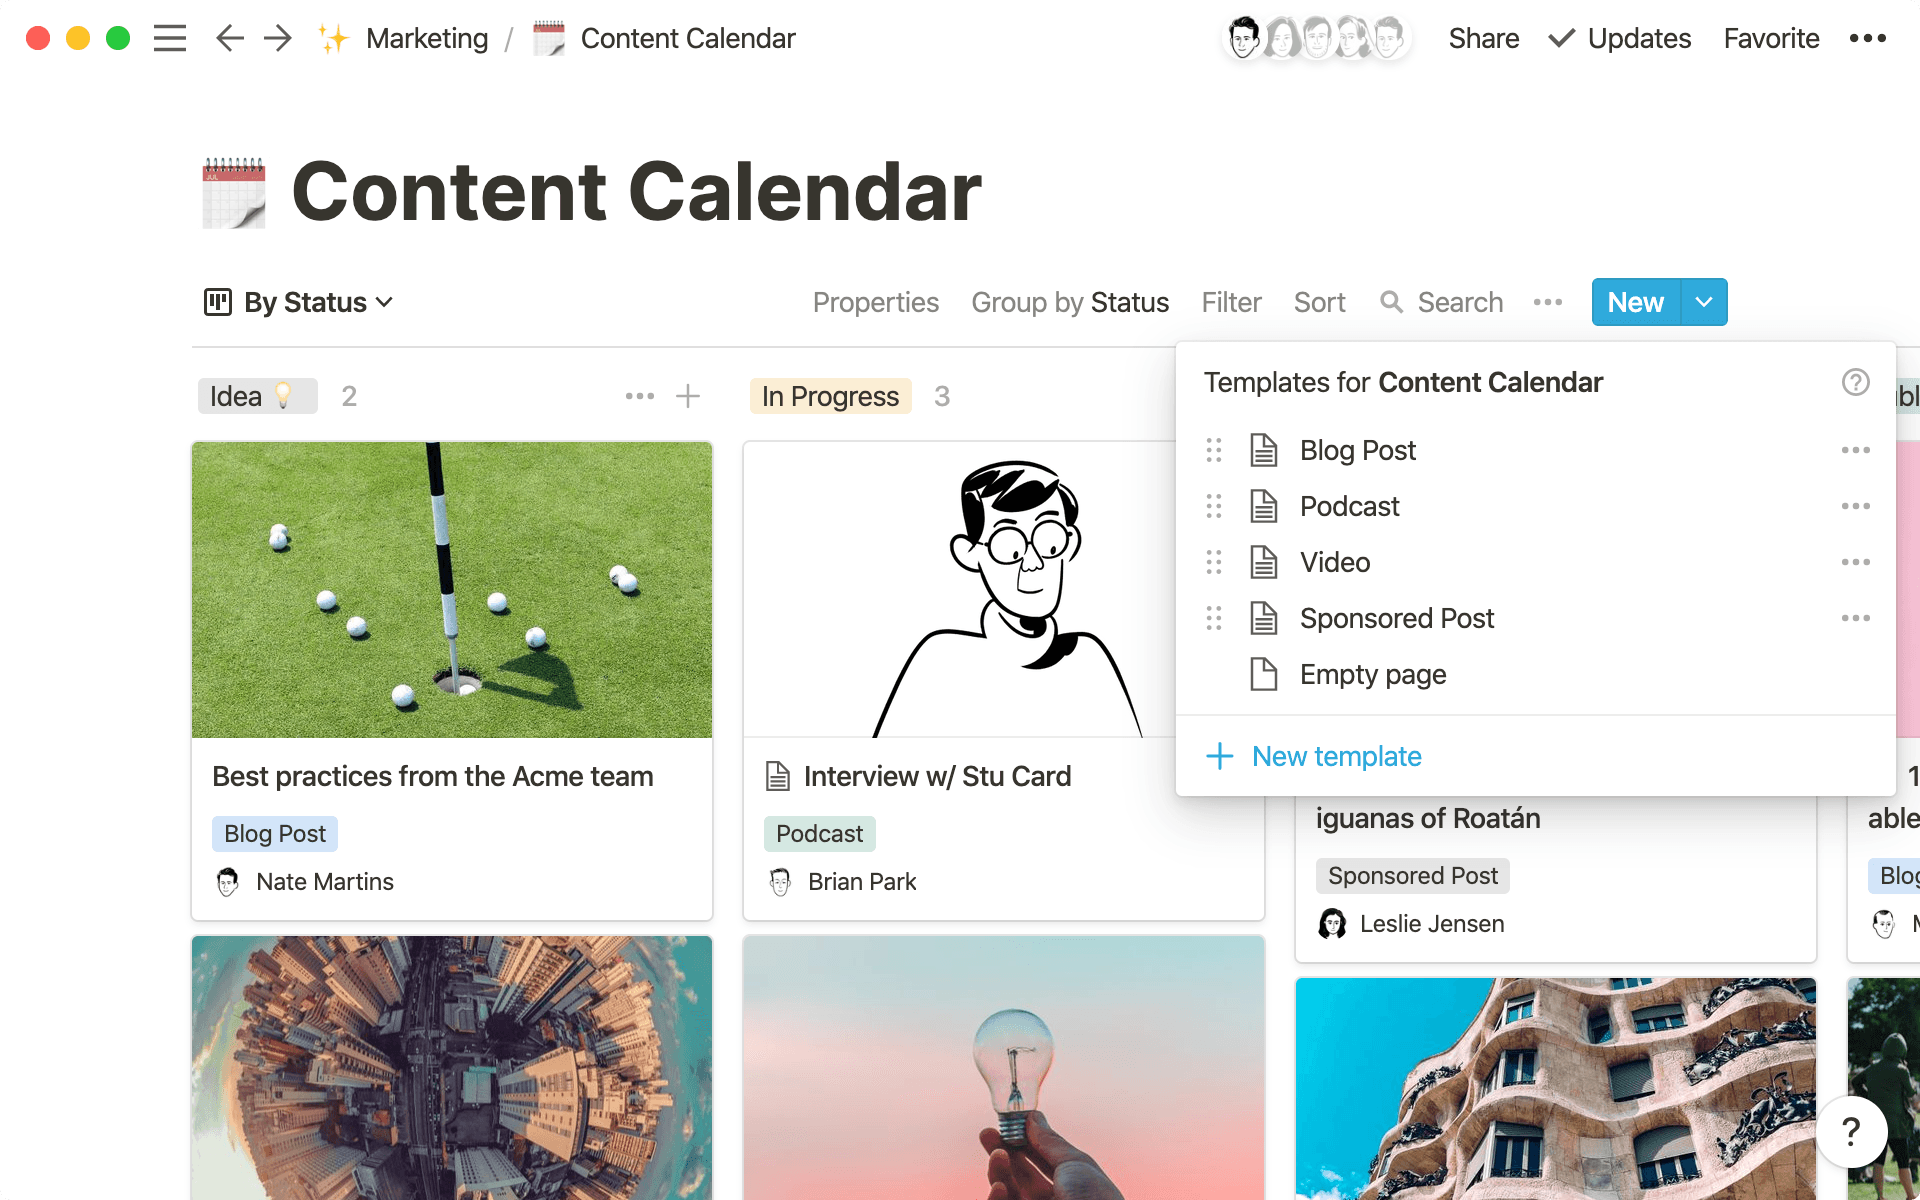
Templates help ensure you’re running processes consistently. And as your team grows, they’re important for scaling those processes.
You can create any number of customized templates that spin up immediately, containing questions, prompts, or edge-cases. Because templates are so customizable, if your team learns something about how a project was done, the template can be updated. This promotes learnings across your team and takes those learnings forward into everything you do.
For your different databases, you might include:
Templates for different types of meeting notes — from 1:1s to standups, have everything in your template ready so the meeting can get under way. We’ve created some meeting notes templates you can use to get started, including some for remote teams (including standups and all-hands meetings) and for 1:1s.
Templates for recurring projects — you may need to regularly drum up more support articles or complete user research sessions. Make sure each project starts with the same criteria so you can execute consistently. Some of our pre-made templates for this work includes a product spec and a design spec.
Pick the properties you want your team using
Pages comprise Notion databases. And inside pages is where the work actually happens. But you need a way to spell out key facts around your team's work.

We have a whole Guide about how to use database properties and when to use them. Of course, they should be customized to your team's needs, based on your work and your processes.

Properties to try in your projects database
Create database views for specific work
Database views are also customizable, helping you and your team surface relevant information your database.
Let's say you have a company-wide roadmap. Want to see all projects organized by status? Create a view for it. Want to see a table organized by project priority? You can make a view for that too. What about a calendar of all the launch dates? Yep, you can create a view for that.

Try these database views
We have a whole Guide about how to use different views of a Notion database to see the status of projects, deadlines, and more.

Resources for setting up your team’s workspace

Templates for setting up your workspace
설명되지 않은 부분이 있나요?
