Great project managers don’t just plan steps from Point A to Point B. They use thoughtful design to optimize the journey for the best possible outcome.
The design of a project is an essential first step to an intentional and successful project, helping teams align on deliverables while visualizing the road ahead. It’s the basis for more detailed plans that never miss a beat.
Teams that harness project design work with more purpose and efficiency toward high-quality outputs. Here’s how to get it right.
What’s project design?
Project design is a high-level brainstorming phase in which team members outline goals, deliverables, and strategies for a given project. Teams can also consider the resources they’ll need to complete the work ahead.
Because it’s one of the first steps in the project lifecycle, it doesn’t include detailed strategies for executing work. Instead it provides 30,000-foot ideas that project management leaders can share with key stakeholders so everyone can agree on a general course of action. Once everyone’s on the same page, they can make the design a reality.
Why is project design important?
Project design sets teams up for success by determining overall goals while keeping the project budget and timeline in mind. Without these overarching ideas in place, teams could get lost in the weeds without a sense of purpose or direction.
The design phase of a project also gives managers time to get organized, understand the work’s parameters and objectives, and develop a high-level strategy before leaving the starting line. With a solid foundation, project managers will already know the “Why” guiding every step and make sure the whole process matches.
How does project design work?
Project design works by solidifying a rough outline of a project’s journey from beginning to end. It’s a brainstorming phase, so most managers use tools to facilitate and visualize the process, such as:
Sketches
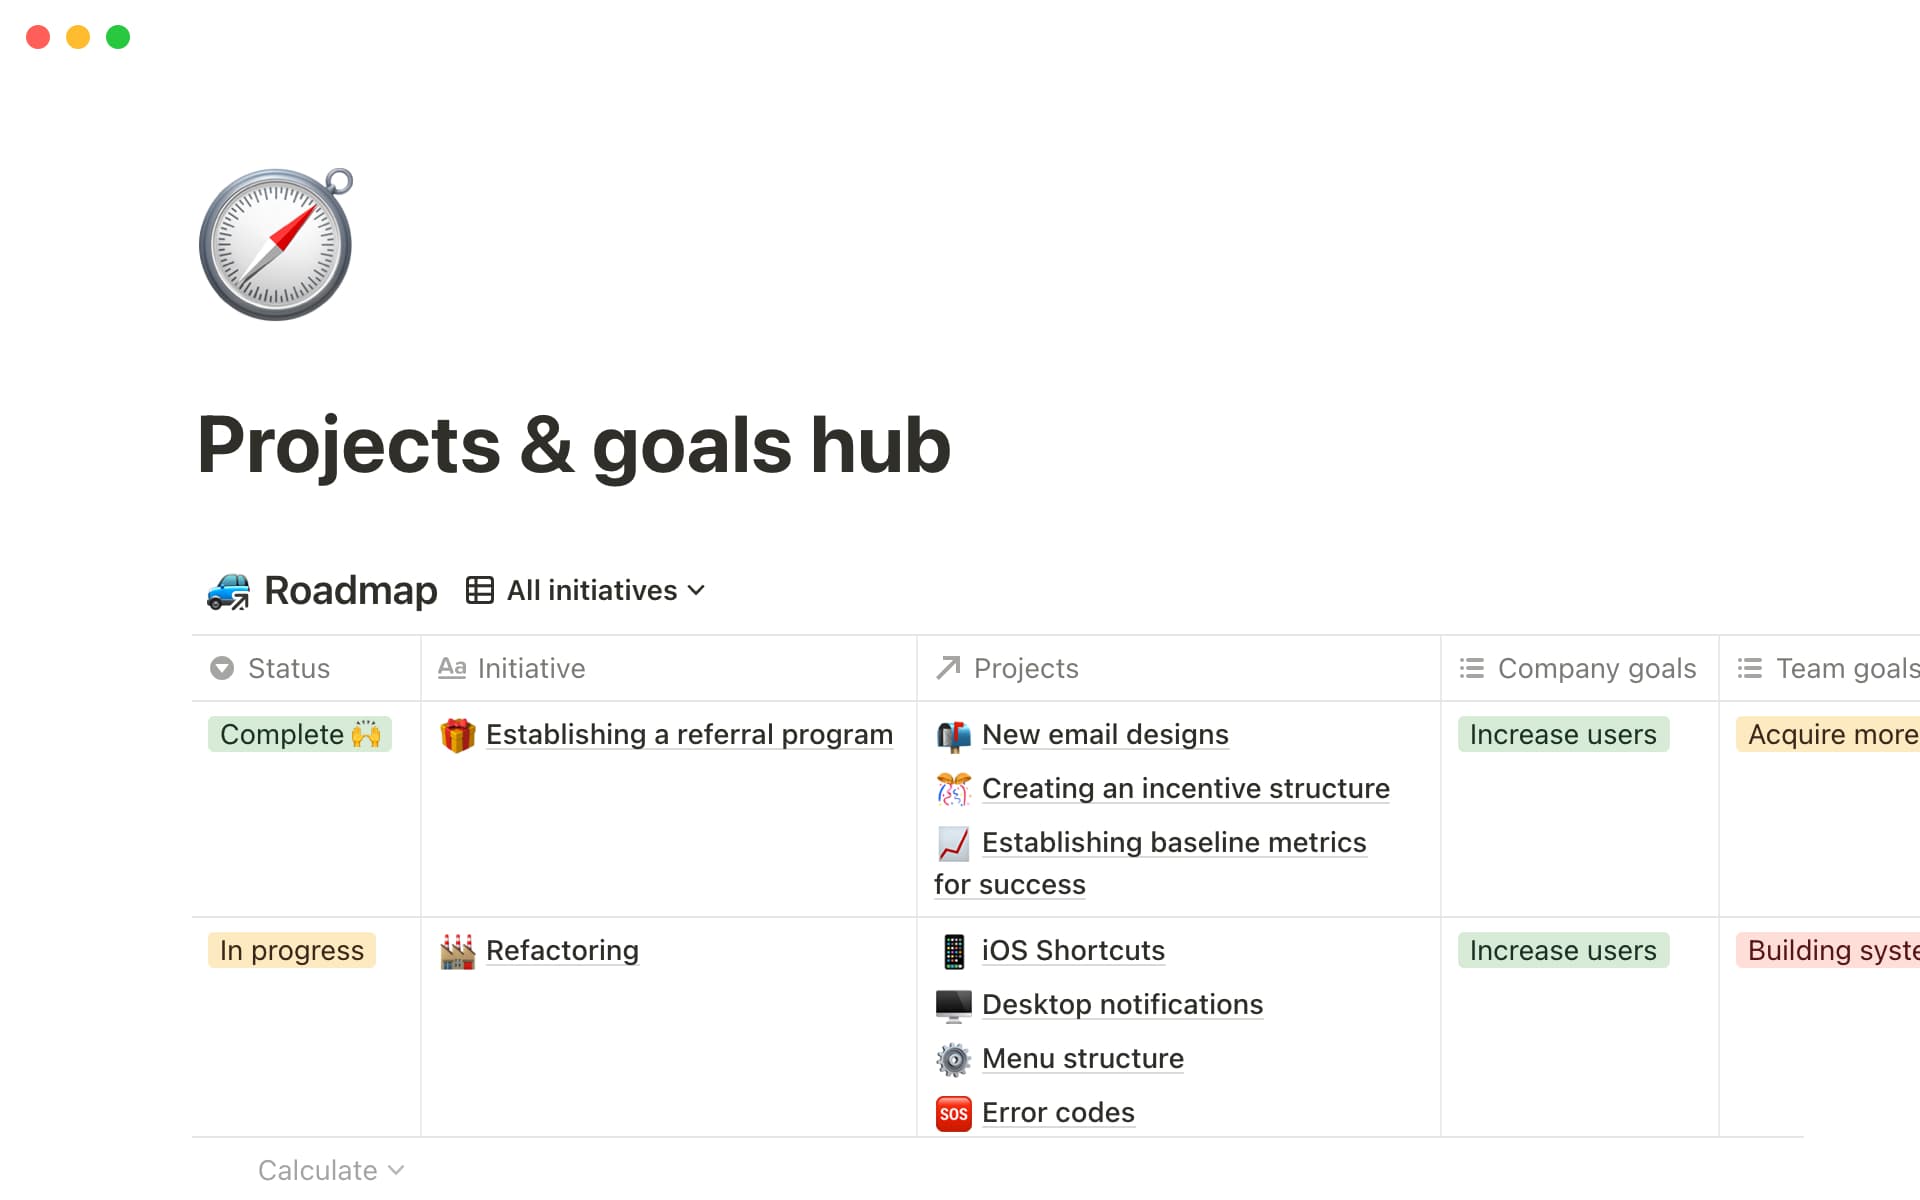
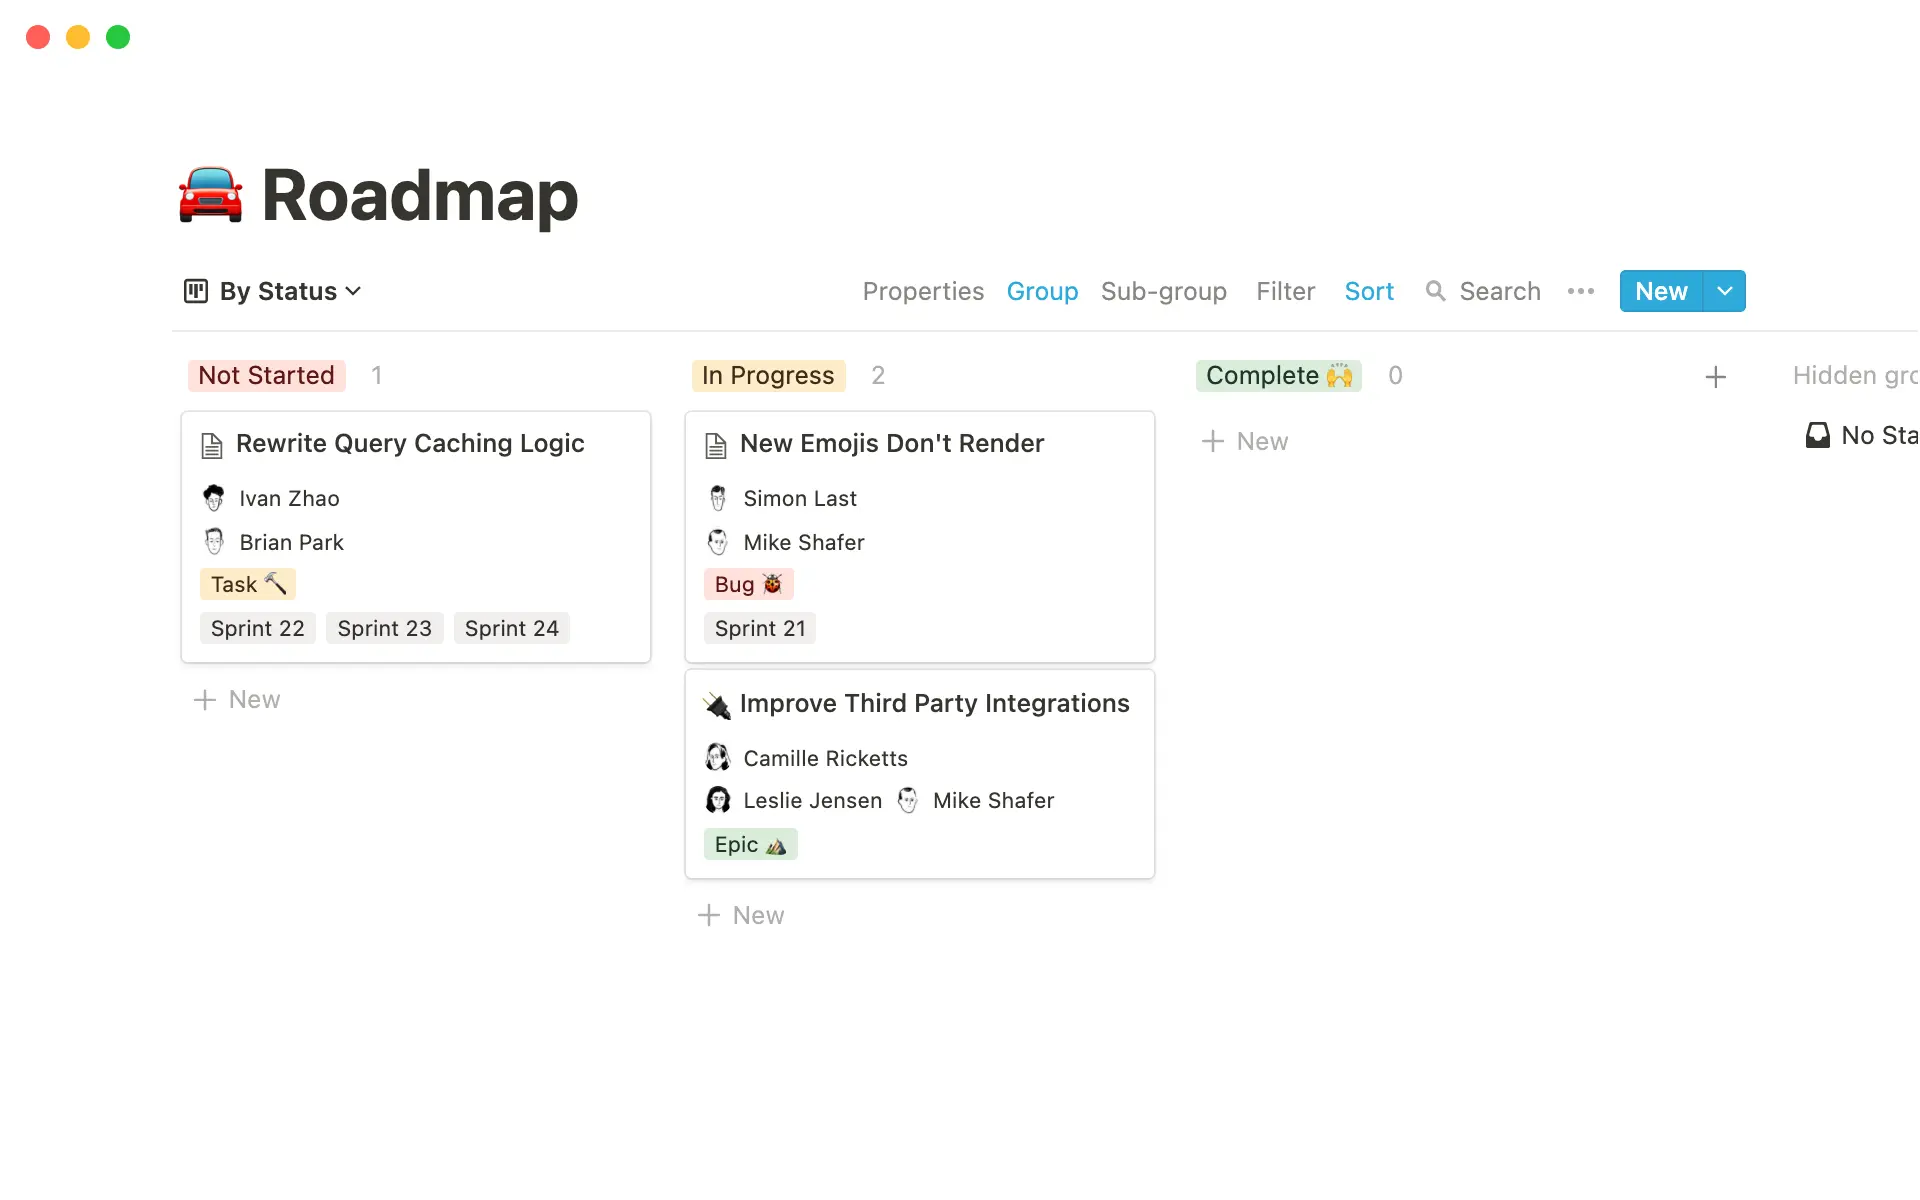
Roadmaps
Prototypes
Vision boards
The benefits of design in project management
Setting solid intentions guides micro-level planning and grounds everyone involved. But investing time in this critical phase also:
Helps teams mitigate risk — project design guides future contingency plans, which identify risks and devise strategies to prevent or respond to them. A project manager might foresee a cash flow issue that would have halted work. Spotting these risks from the get-go prevents potential disaster.
Drives better outcomes — excellent project planning starts with the design phase. Taking the time to clarify overarching objectives and smooth away risks from day one helps the team better plan their work later on.
Improves communication — when project managers communicate plans effectively and involve stakeholders in decision-making, everyone understands the project goals and scope and can offer insights on risks or improved workflows.
9 project designing steps to follow every time
One of the challenges of high-level planning is synthesizing a wealth of information into salient points. A project design guide can help. Here are nine steps in the project design process that any decision-maker can follow:
1. Determine the project vision
A project vision is an ideal that describes the goals you’d like to achieve. Starting with this in mind guides the rest of the process and ensures you’re working toward the right destination. Write a clear vision statement to inform stakeholders and team members of the project's value and hopes.
2. Define the “Why”
The “Why” of a project is almost always to solve a problem or meet a need. Tailor your reasoning to the client or end user’s pain points, and describe how the outputs will provide value. If there’s a disconnect between them, this is your chance to dispel it. When your “Why” is solid, gather data to show stakeholders what the problem is and how the project solves it.
3. Outline project resources
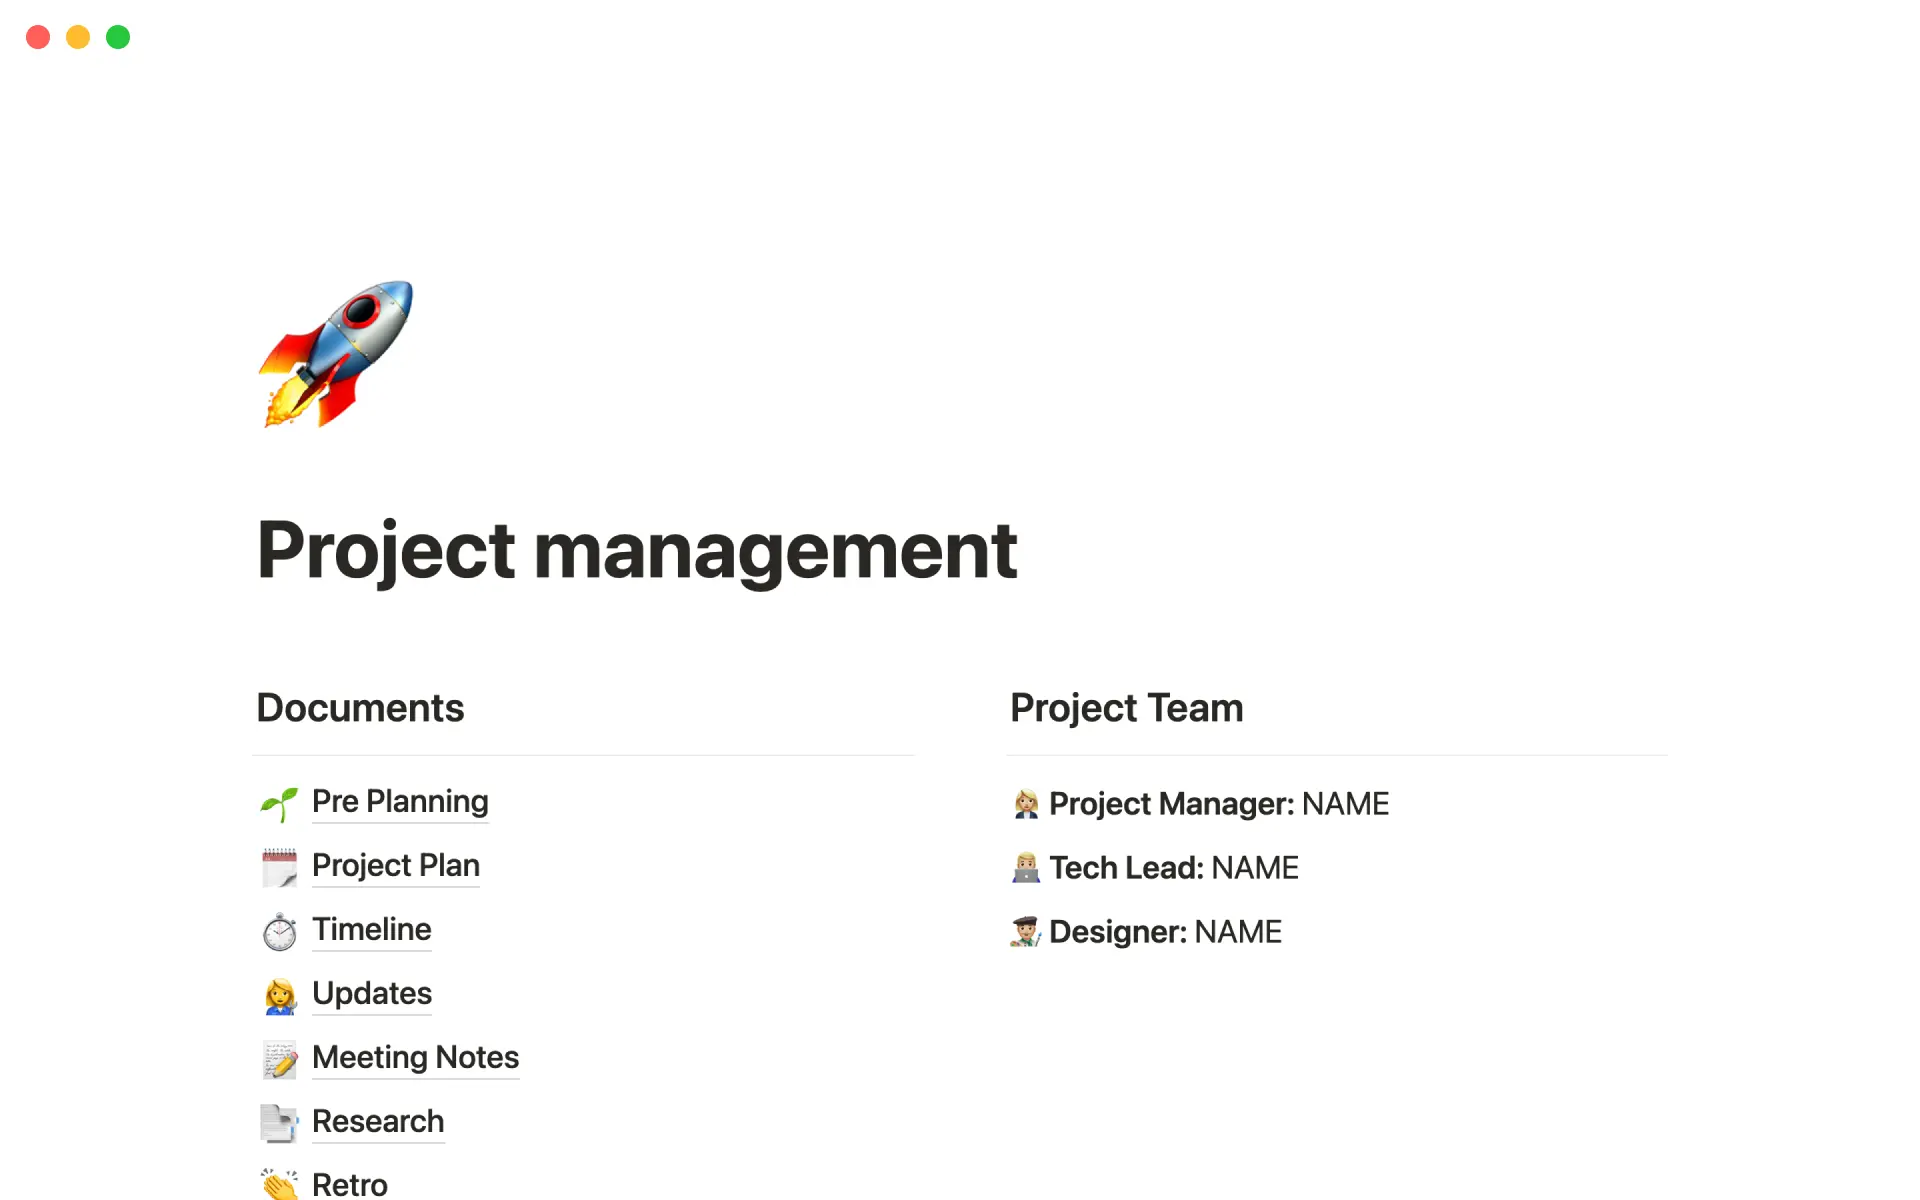
Project resources are the fuel that keeps work moving. Identify who you’ll need to work on the project, any equipment and tools the team must have in order to complete tasks, and the funds that will be needed to support both labor and materials. At this stage, consider the project timeline to ensure team members have enough space to complete work on this initiative in addition to other everyday tasks.
4. Set goals
Set SMART goals — specific, measurable, achievable, relevant, and time-bound — for the project as a whole. These should be high-level objectives that solve the problem the project tackles in a realistic way. If the end goal is to develop a new time-tracking app, draft a goal statement that describes how and when this project will result in that outcome.
5. Strategize
Study past projects and what they did right and wrong, then emulate the highlights. Outline general phases and activities of your current projects, keeping in mind that team facilitators, like product owners or Scrum masters, will create more detailed strategies later. And make sure your approach arrives at the goal you set earlier.
6. Evaluate risk
Once you have a clear view of the project strategy, check it for holes. Again, base your knowledge on previous projects and their weaknesses. But don’t limit yourself. Look for common problems like a lack of available personnel, the need for new equipment or skills, and delays from third-party participants. Create a contingency plan that describes a course of action for every risk and keeps the project on track even in an emergency.
7. Set metrics
Define how you’ll monitor the project by setting success metrics and KPIs. Since you already created measurable, time-bound goals, you already know which milestones to hit by specific dates. If the team misses these marks, you’ll be able to pinpoint when the project is off course and re-route accordingly.
8. Establish the budget
At this point you’ve determined the resources you’ll need for the project and you have an idea of the general costs. Now’s the time to create a formal estimate. Determine how you’ll allocate funds to different aspects of the project. Document your work to share the budget with stakeholders and get their approval.
9. Generate a project proposal
A project proposal translates project design into an easy-to-understand document or presentation. Try to summarize the vision, goals, and strategy in a short space. Use visuals like charts or vision boards to demonstrate the positive change the project will create, and include timelines to explain how work will progress.
Project design best practices
Each project design venture invites new challenges, but best practices can guide any process to avoid them. Here are a few tips all project managers can use to facilitate this essential planning stage:
Keep stakeholders in the loop — invite stakeholders into the project design process, and take their feedback seriously. The first step of a project is the time to squash potential concerns before they become larger issues.
Level up with charts, images, and graphs — visuals help your proposal make an impact, but they also guide work. Use roadmaps, Gantt charts, and other high-level project planning tools to bolster ideas and offer a point of reference for future action.
Never lose sight of the goal — the expression “Can’t see the forest for the trees” applies well to large projects. Teams may lose sight of the greater goal because they’re focusing on the everyday work in front of them. During project design, ensure all work aligns with overarching objectives and that you communicate those objectives.
Design your next project with Notion
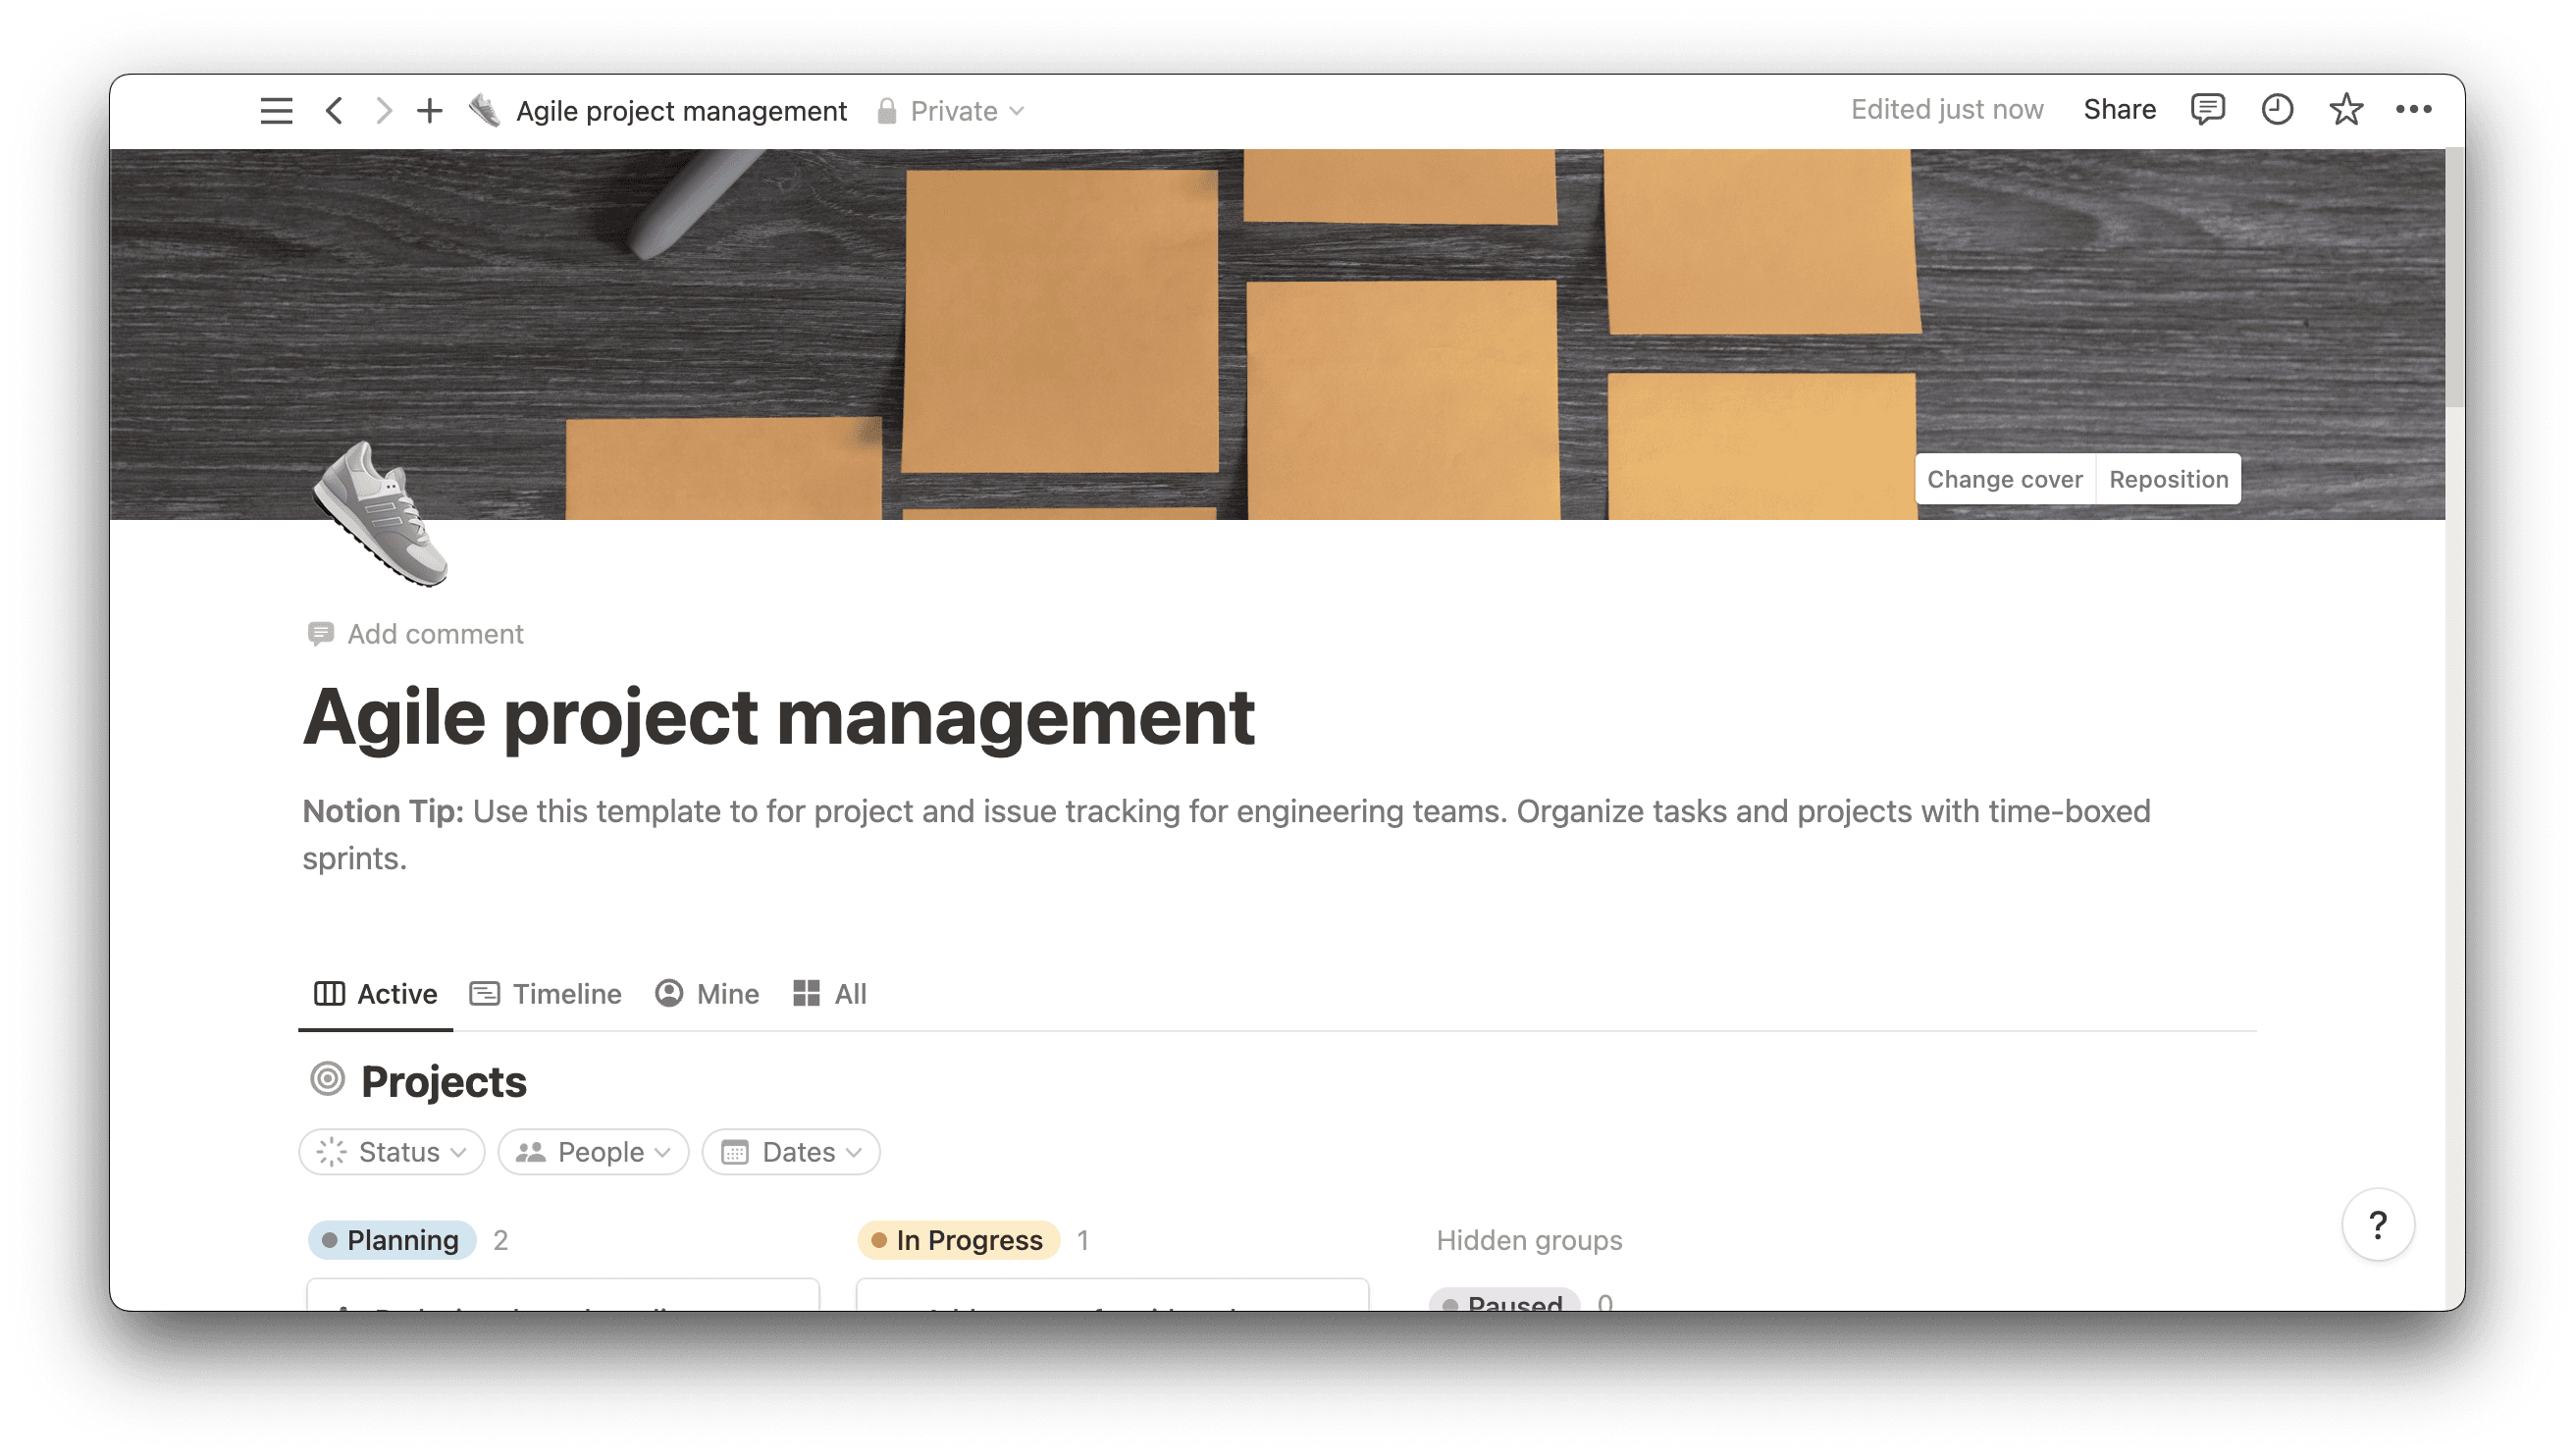
With so many moving parts, project design isn’t easy. Support your work with effective organization tools — like Notion’s guides and templates.
Learn how to chart project tasks, design a brand, and everything in between. Then use Notion’s connected workspace to centralize team documents from Gantt charts to Scrum boards.

